

DIY Ironing Table

So there I was - ironing on a spare flannel pillow case on the floor of my sewing room and I thought, “this mess has got to go.”
I’ve been wanting a big ironing table for a while. I looked and looked for the perfect table that would serve as the base of the ironing table but never found the one. I had almost given up on the idea of having a custom ironing table until the idea fell into my lap. As I was walking around my local IKEA, I realized that the individual legs they sell for their table tops allows me to have whatever size table I want. No more looking for the perfect-sized table! So if you would like to see how I created my own ironing table, read on!
Now I can only imagine that some of you are thinking - “Why doesn’t this weird girl just iron on a regular ironing board?” The reason in the beginning was that I don’t have one. I know that sounds a little silly, but I don’t really have a need for one outside of quilting. Once I started quilting and considered buying an ironing board, I decided that the size and shape of the typical ironing board just doesn’t work for me. I just wanted something a little smaller and more permanent for my space.
So back to the story. I measured my space and found that I could have a table with a max size of 24”x32”. Since my filing cabinet and printer needed to go under the table, I knew I needed to have long legs to have enough clearance for it all. This is the space I had to work with:

The next step was to track down all of the parts and pieces I would need to make this table.
Parts List:
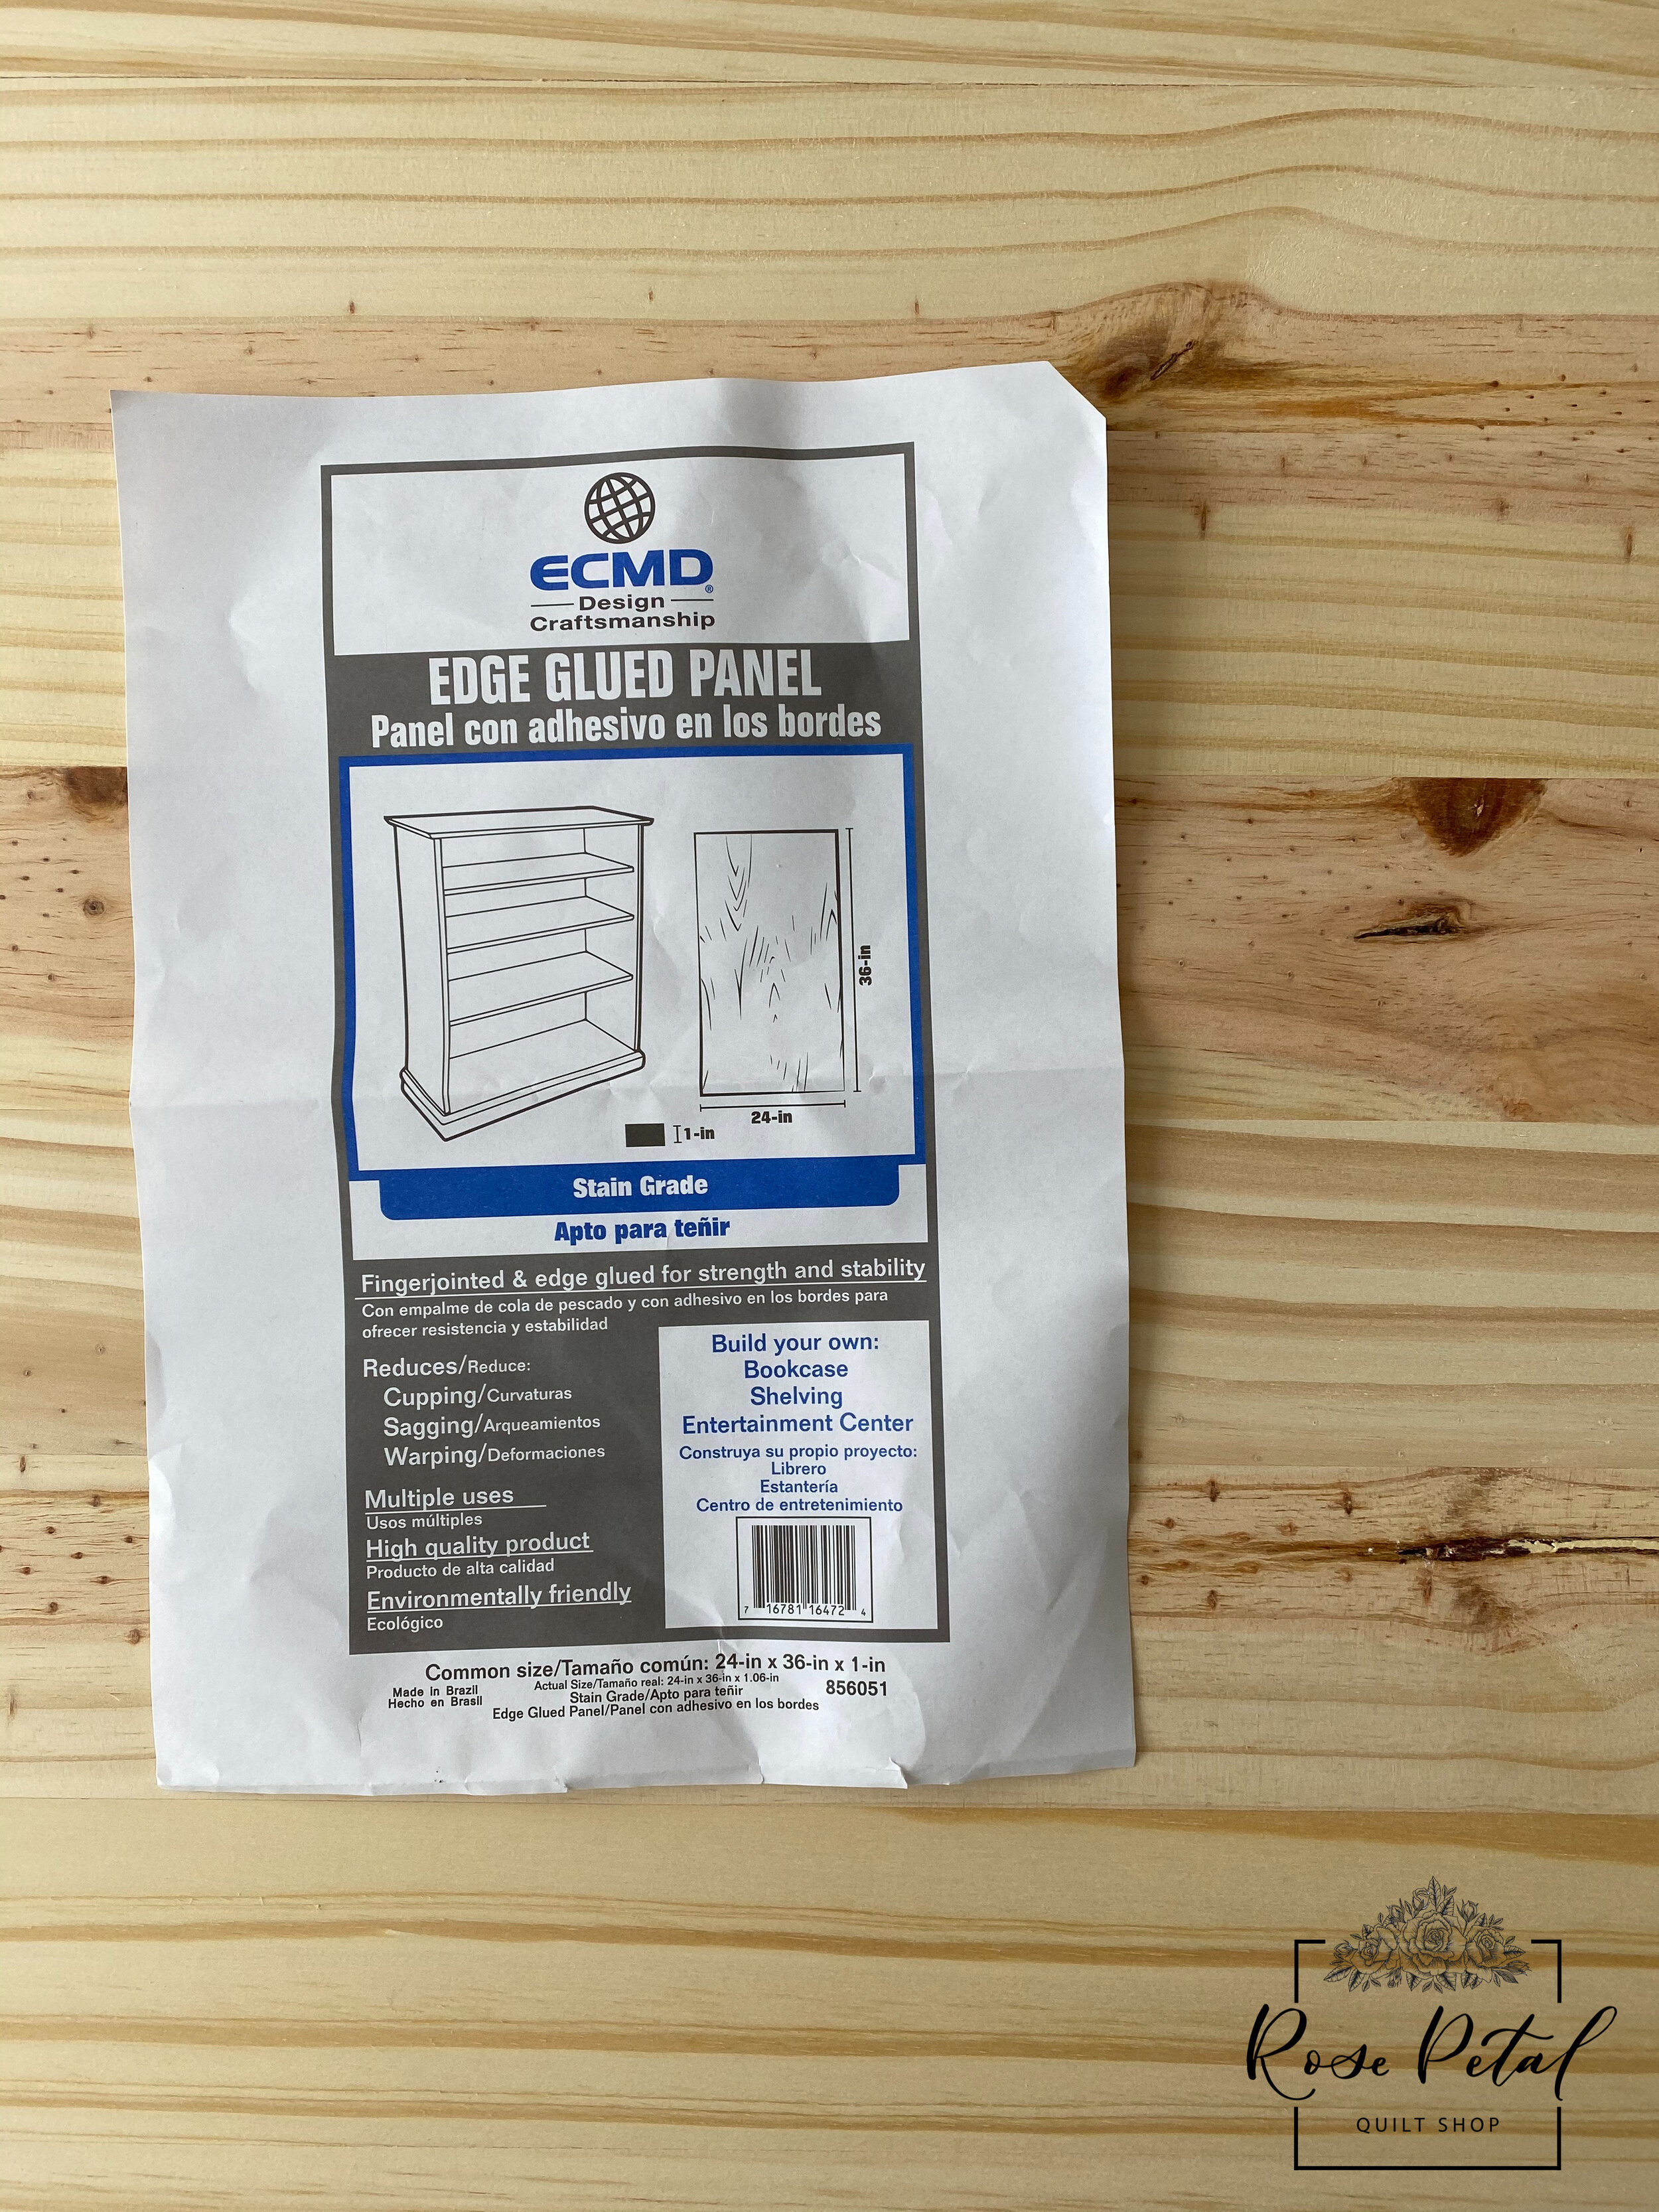
Wooden Board at least 1 inch thick
I got this one from Lowes and had them cut it to my required size.
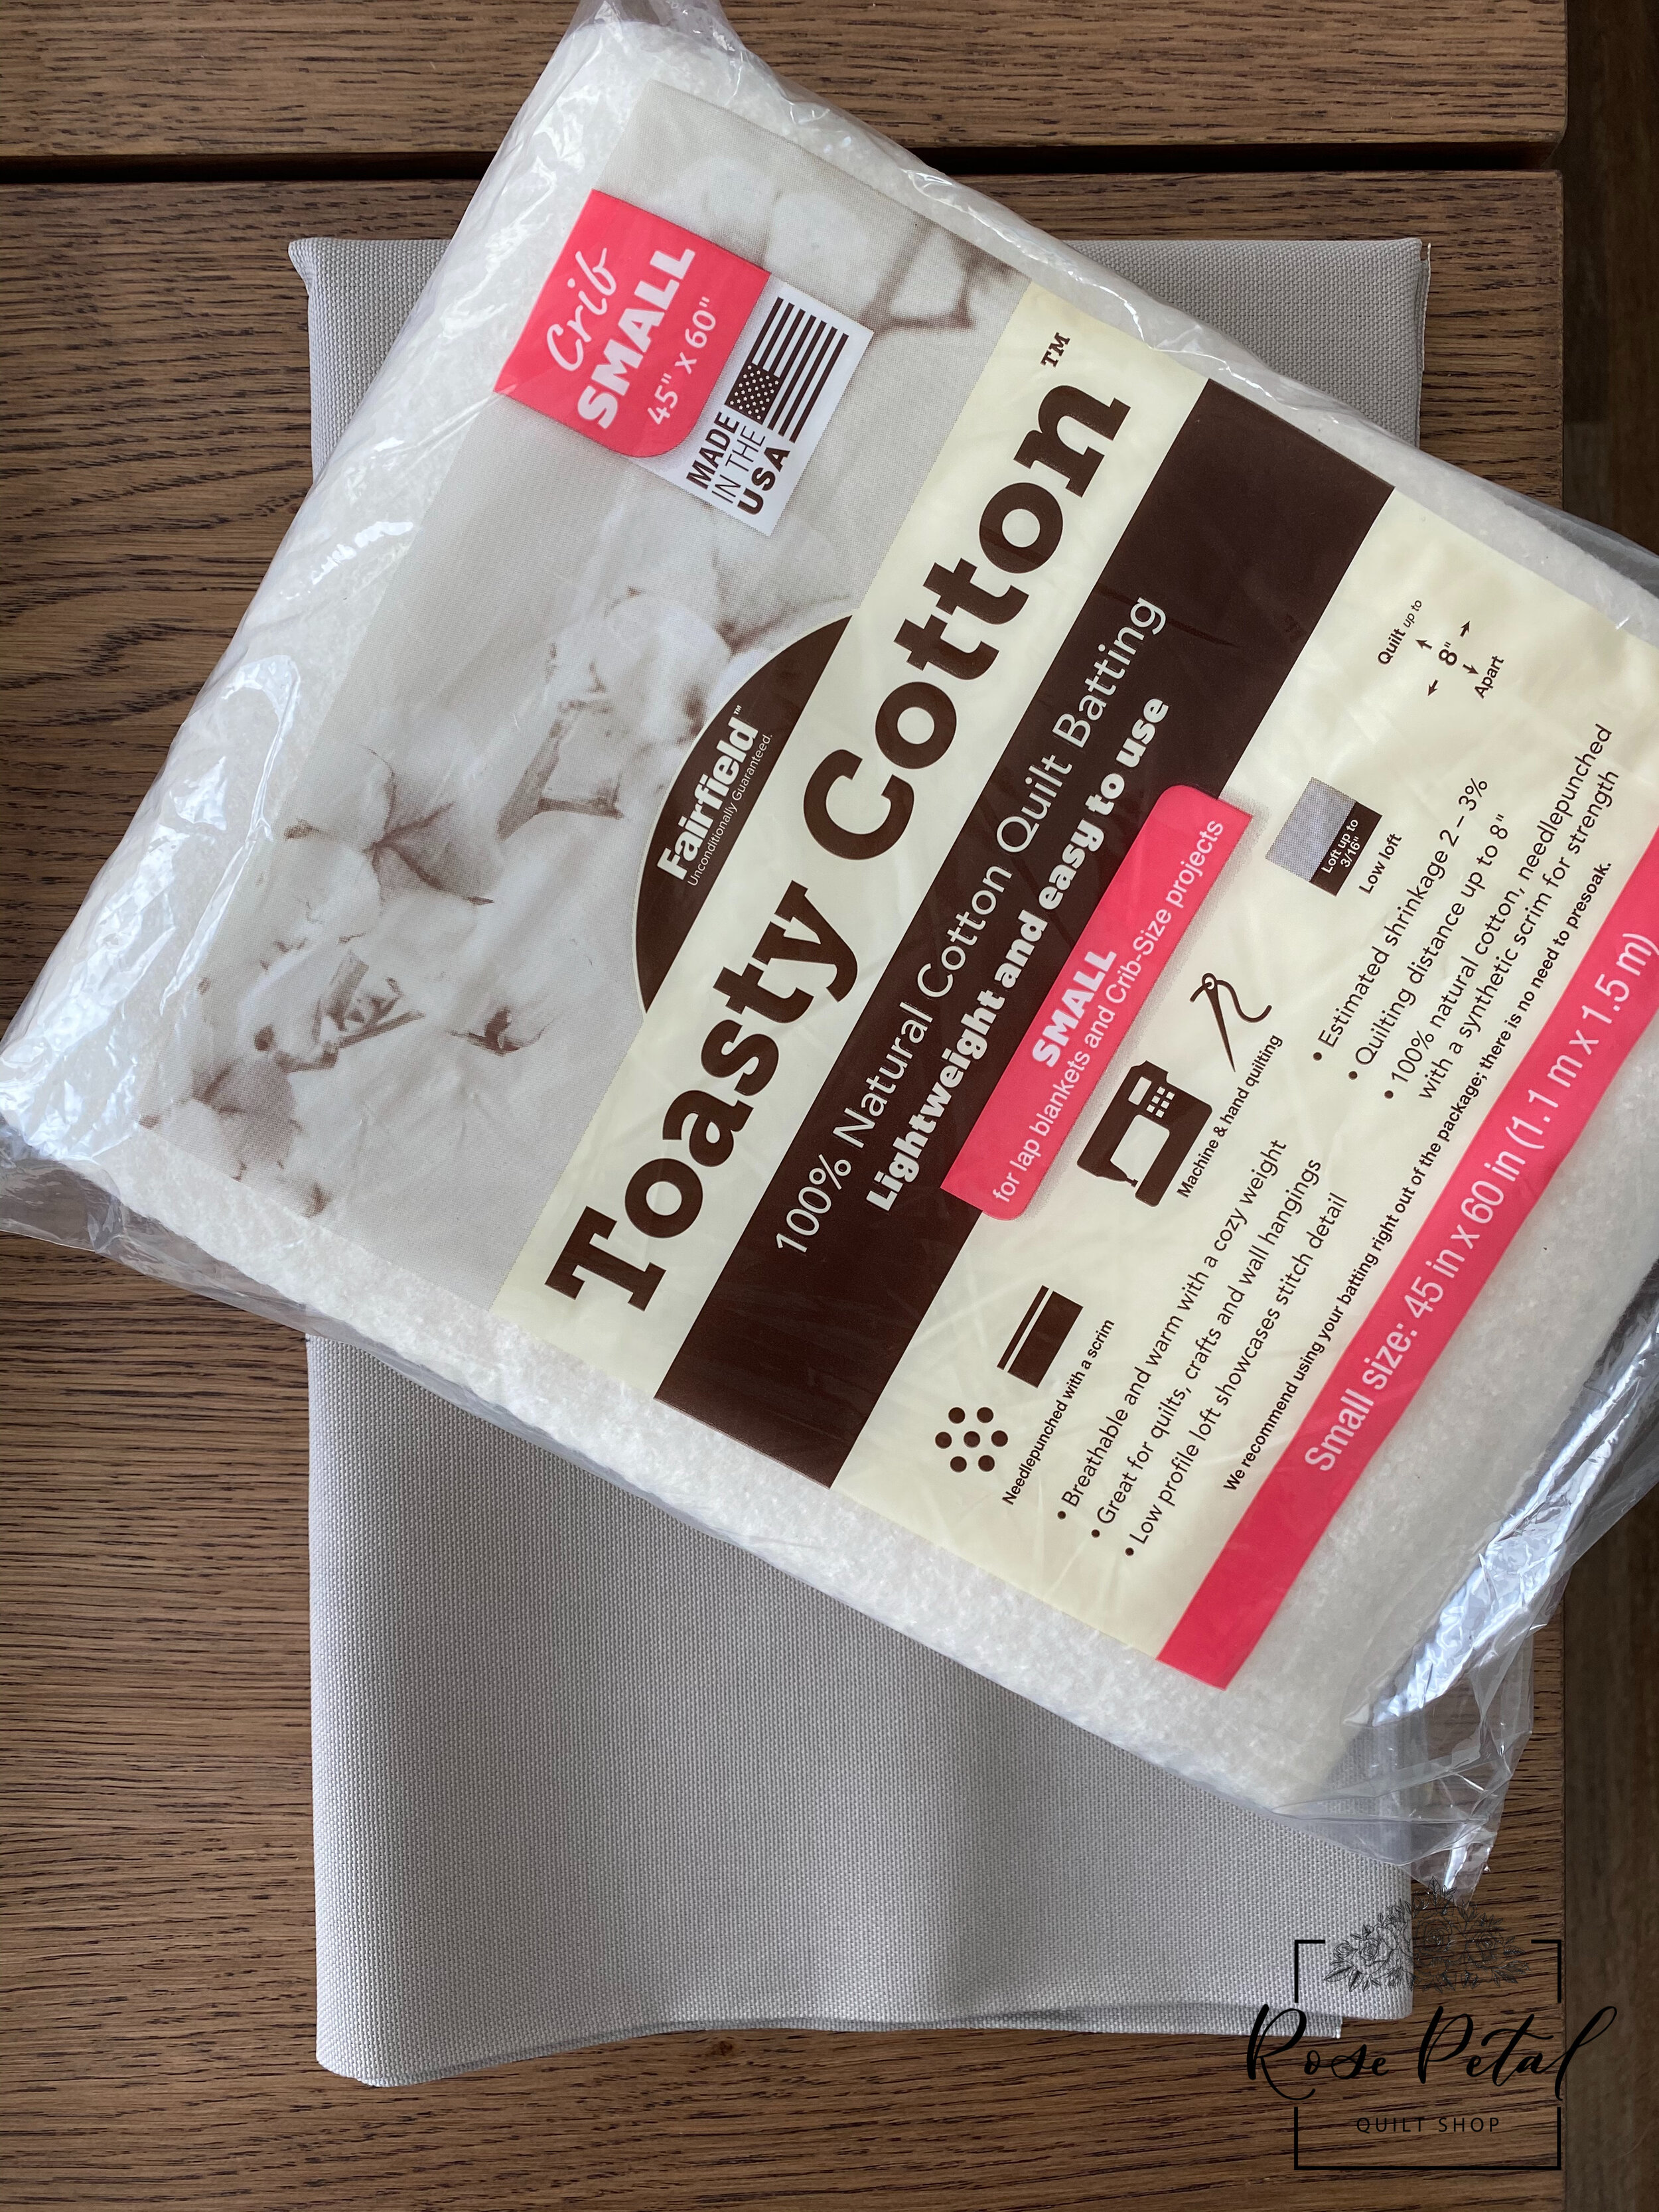
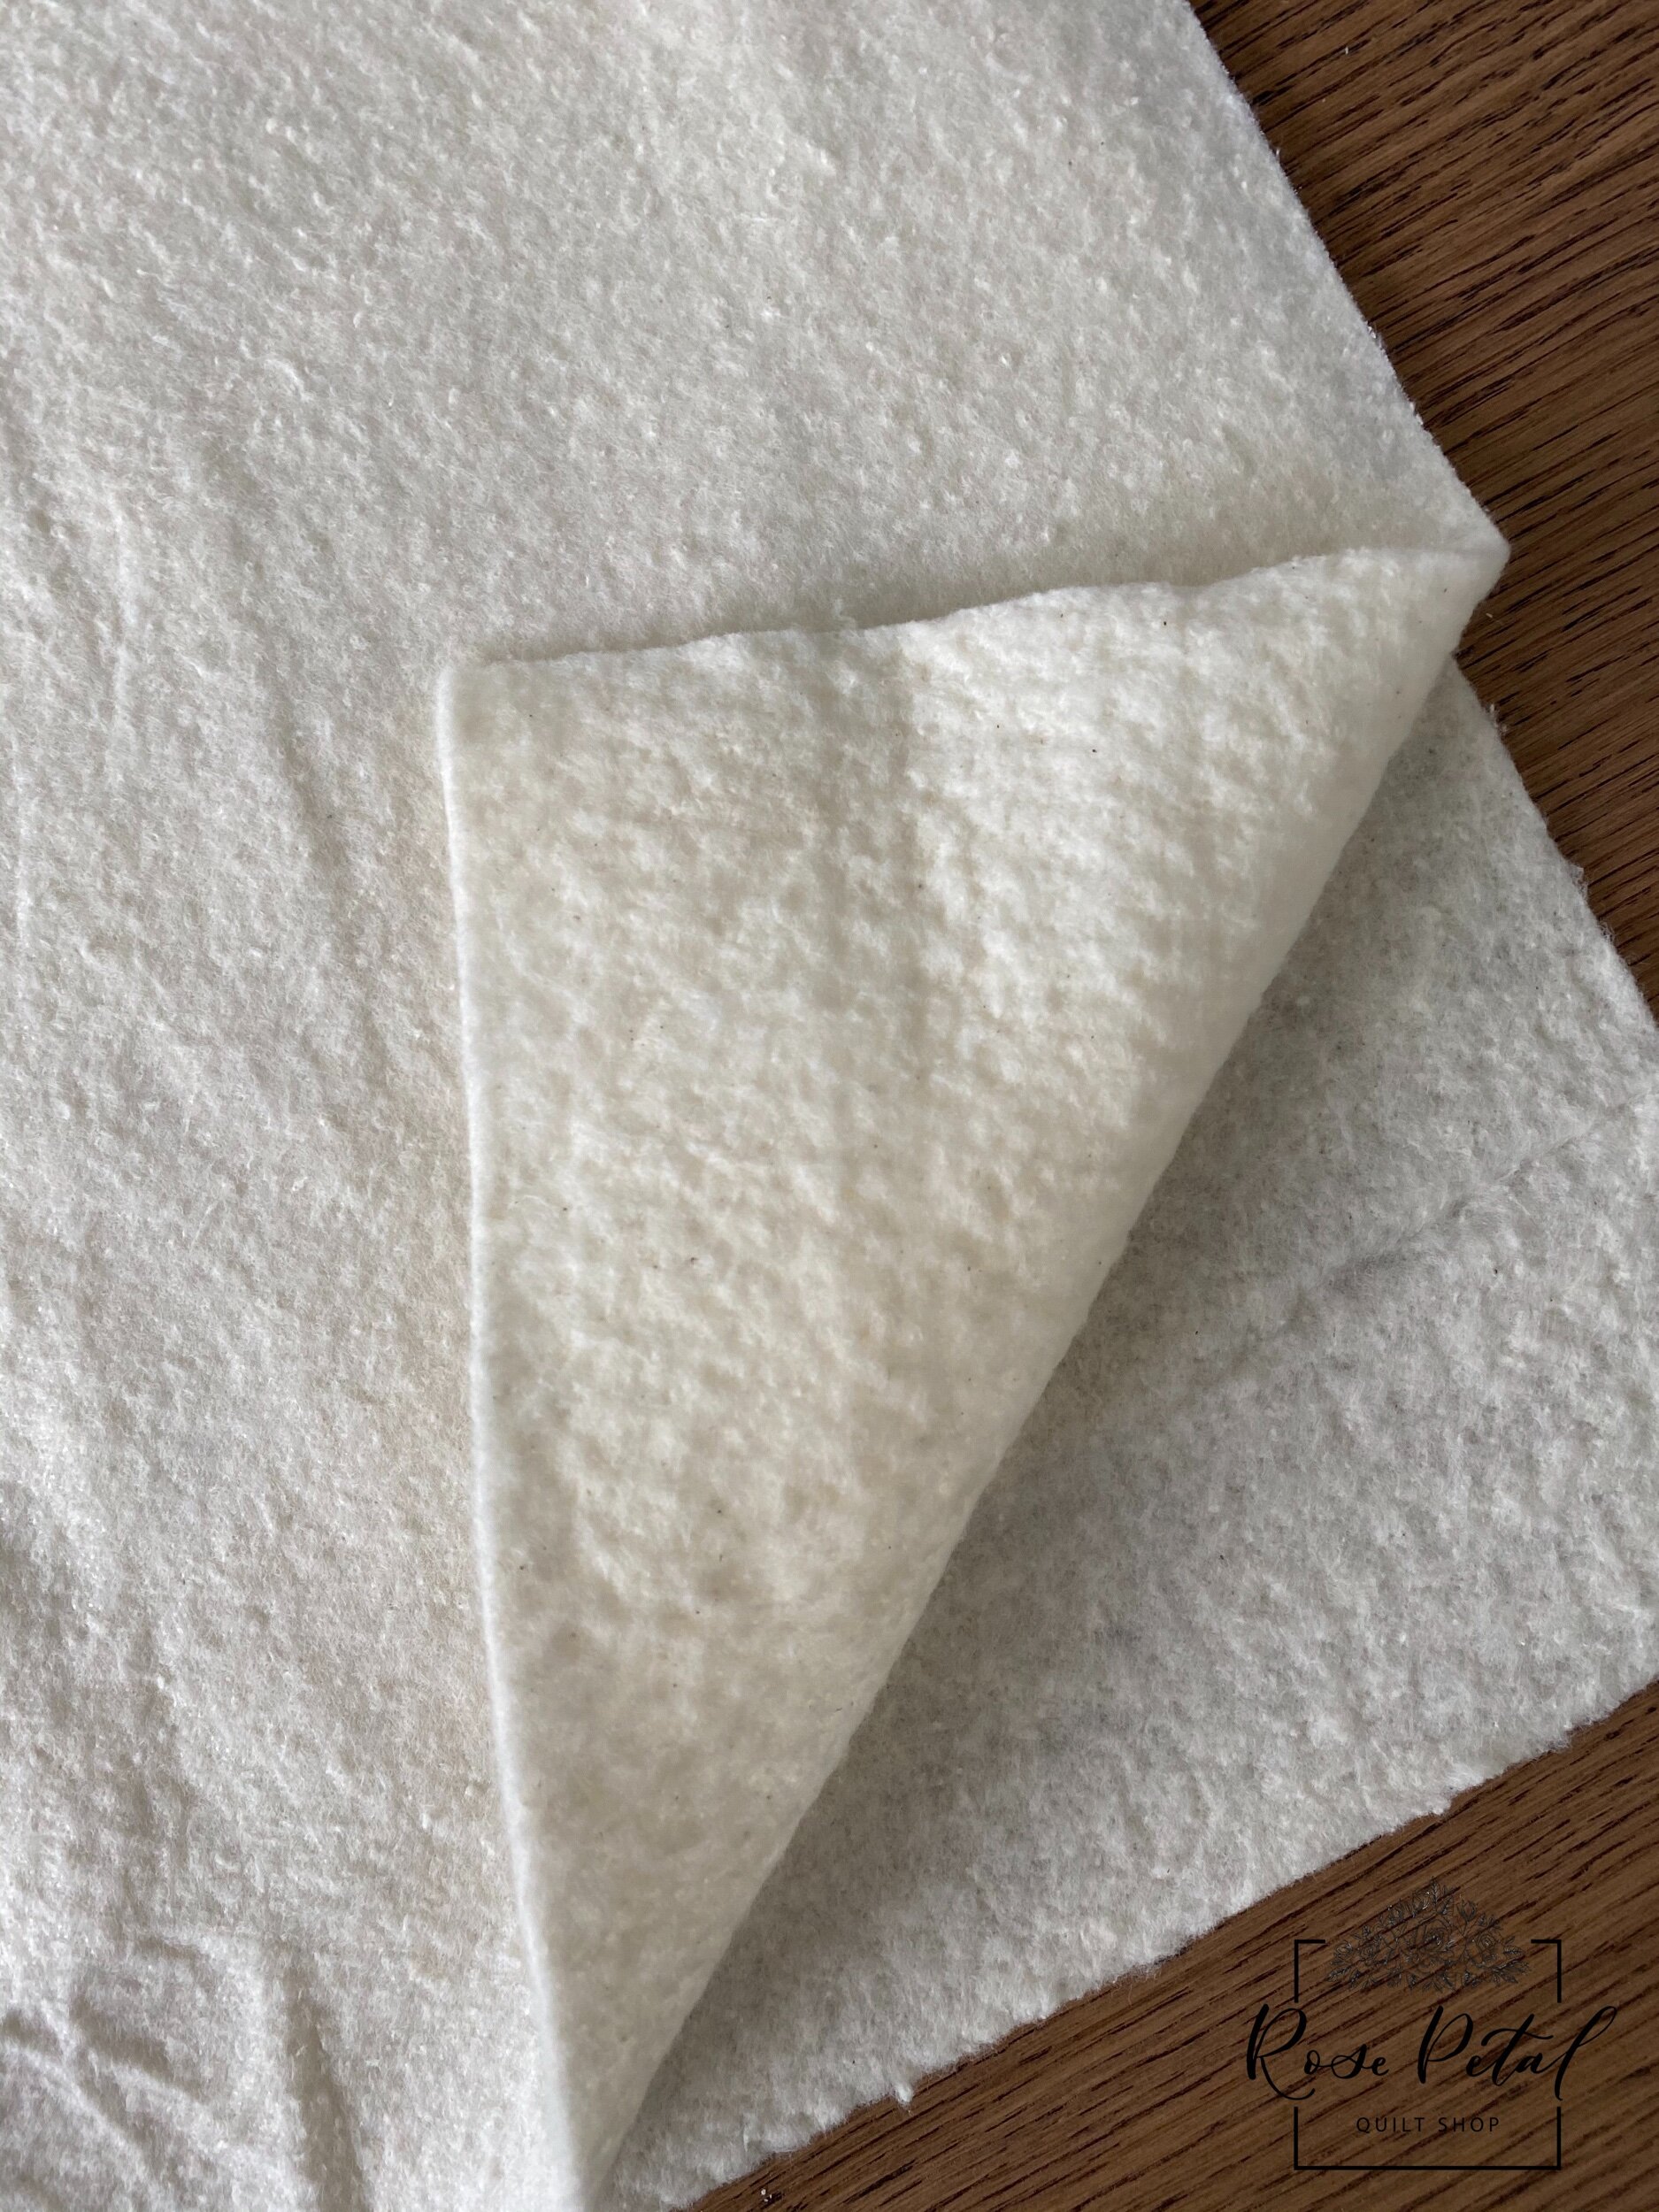
100% Cotton Batting
It doesn’t matter which brand you use but this is the one I used. I chose 100% cotton because I wanted to be sure that it wouldn’t melt under high temperatures. This size gave me a lot of overage, but ideally you would only need about 4 inches extra on all sides.
100% Cotton Duck Canvas Fabric
Now I will say that I walked around the fabric store for a long time before deciding on this fabric option. I went in wanting quilting fabric but decided that I wanted a more heavy duty fabric. And it is of course 100% cotton because of the heat. This also just needs to be about 4 inches larger on all sides.
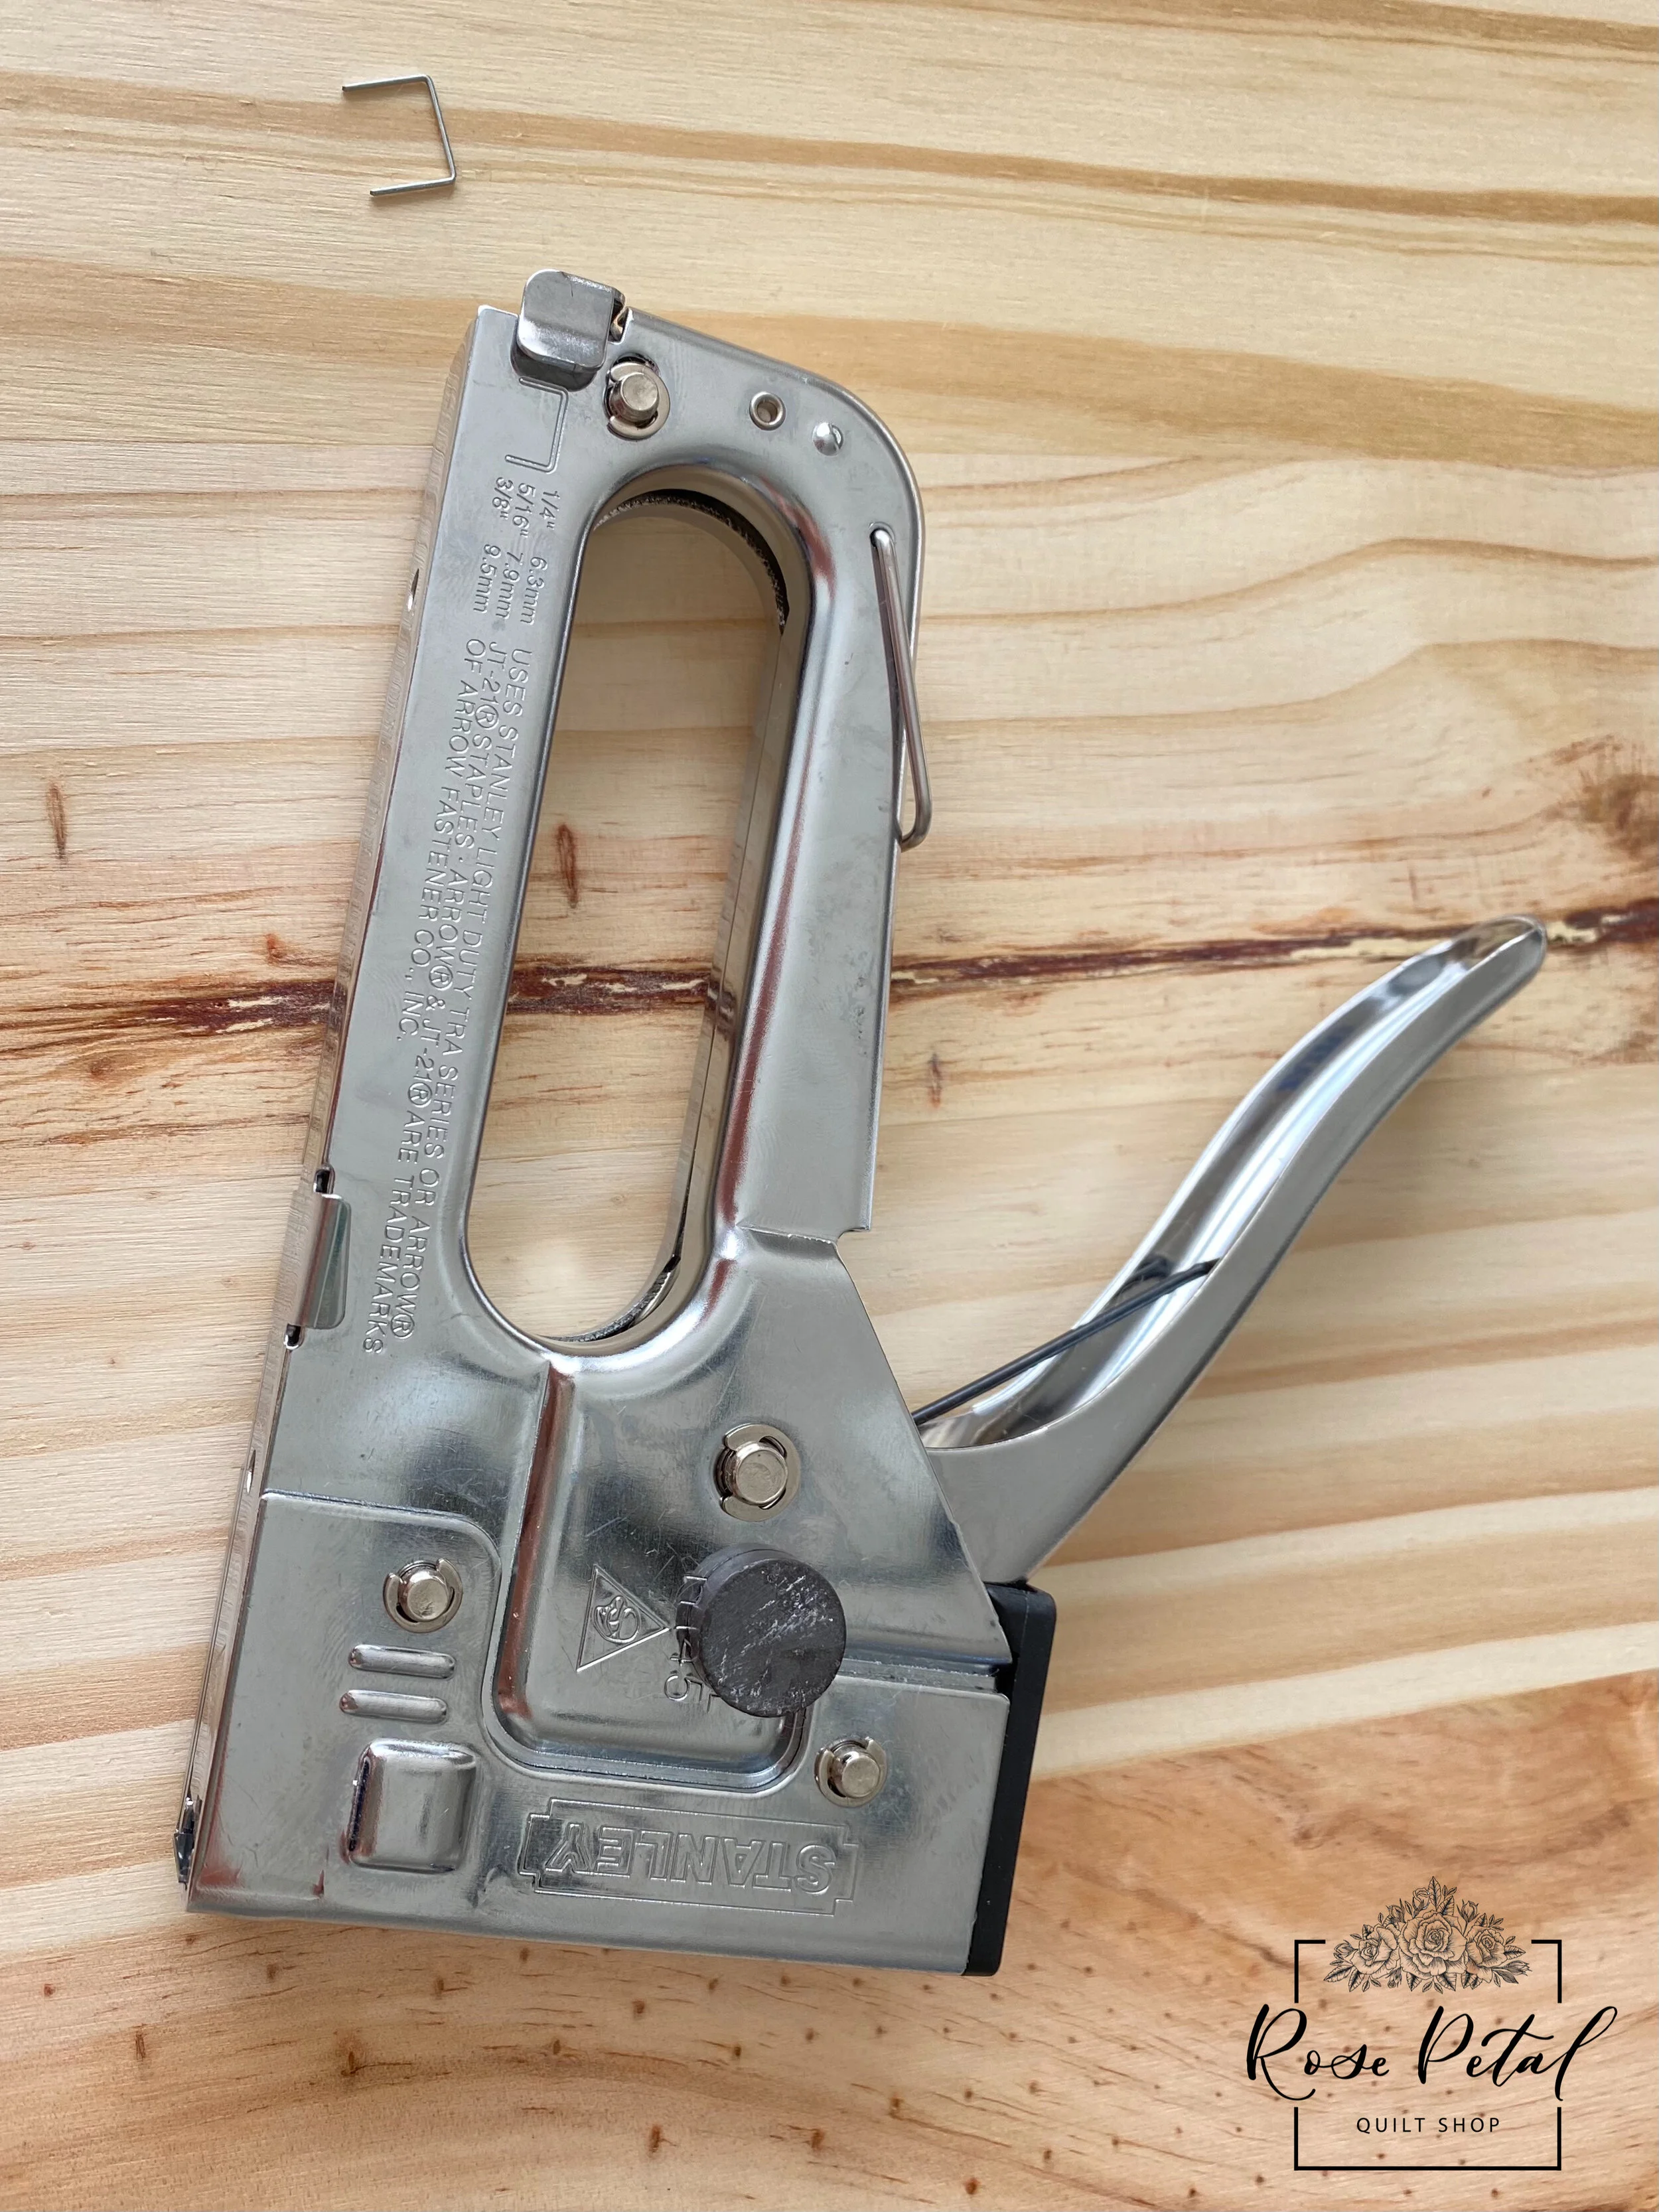
Manual Staple Gun and Staples
I used the 3/8” staples that came with my staple gun for this project.
Scissors
Power Drill
Pencil
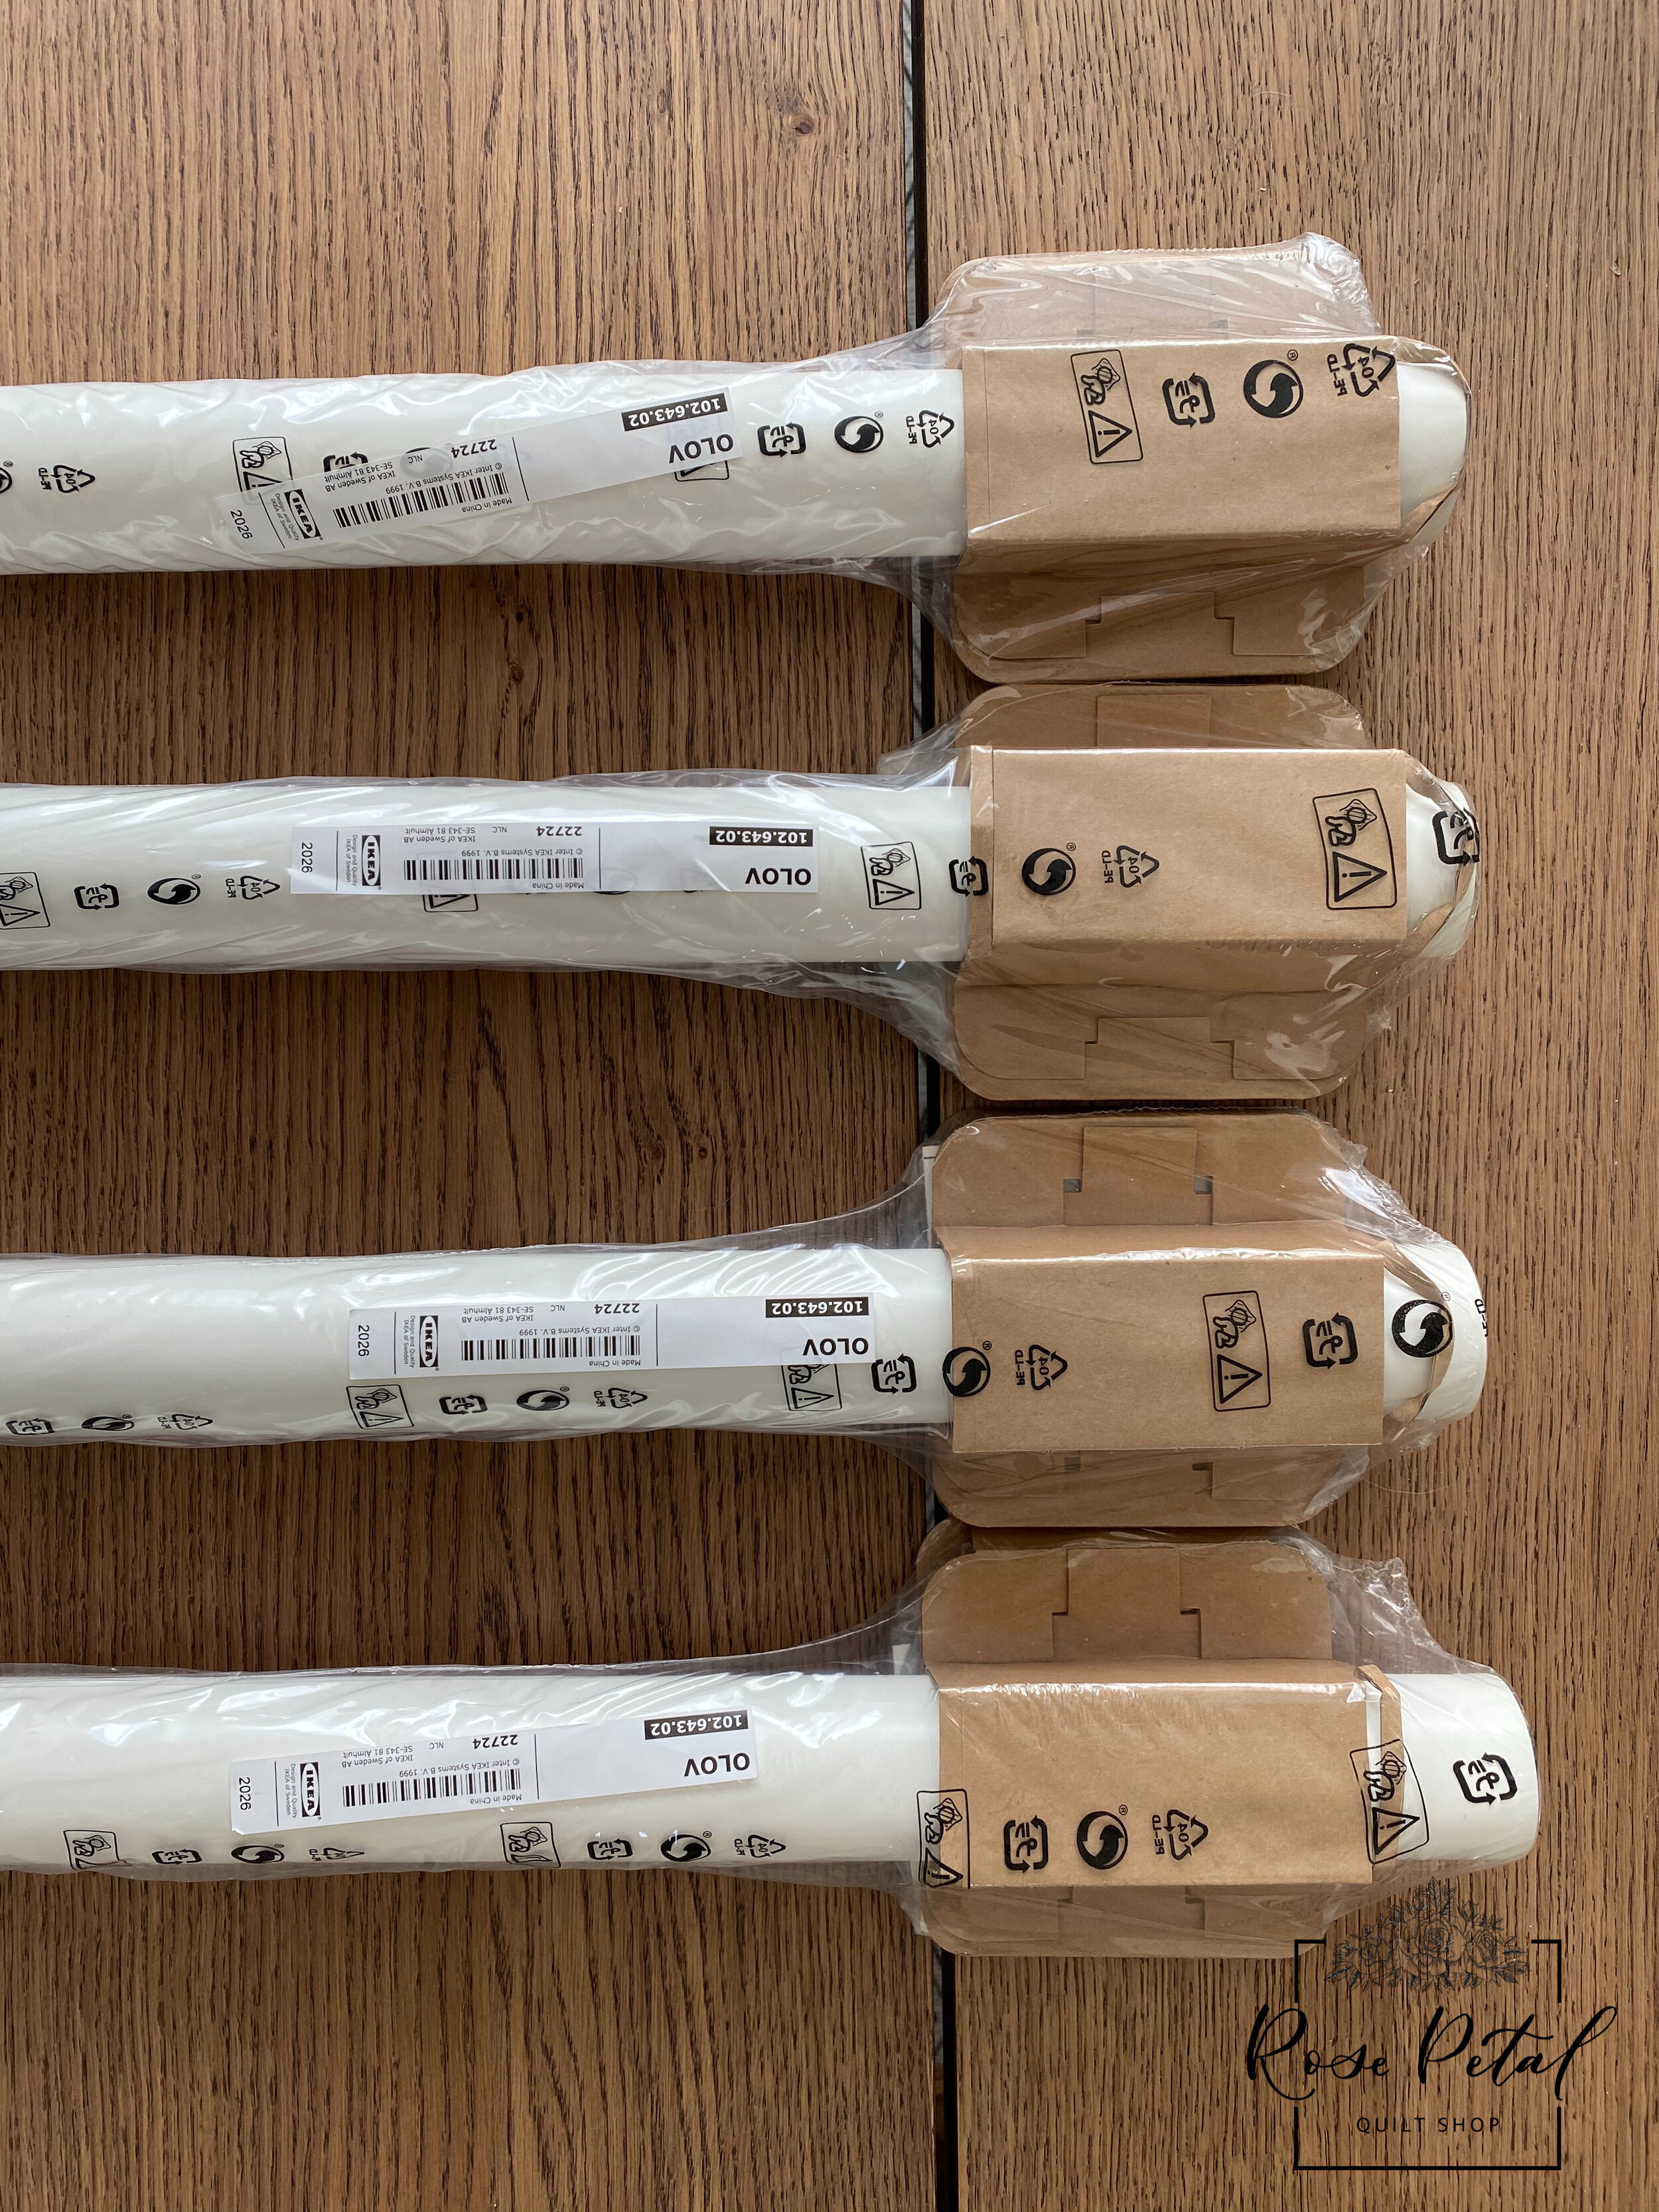
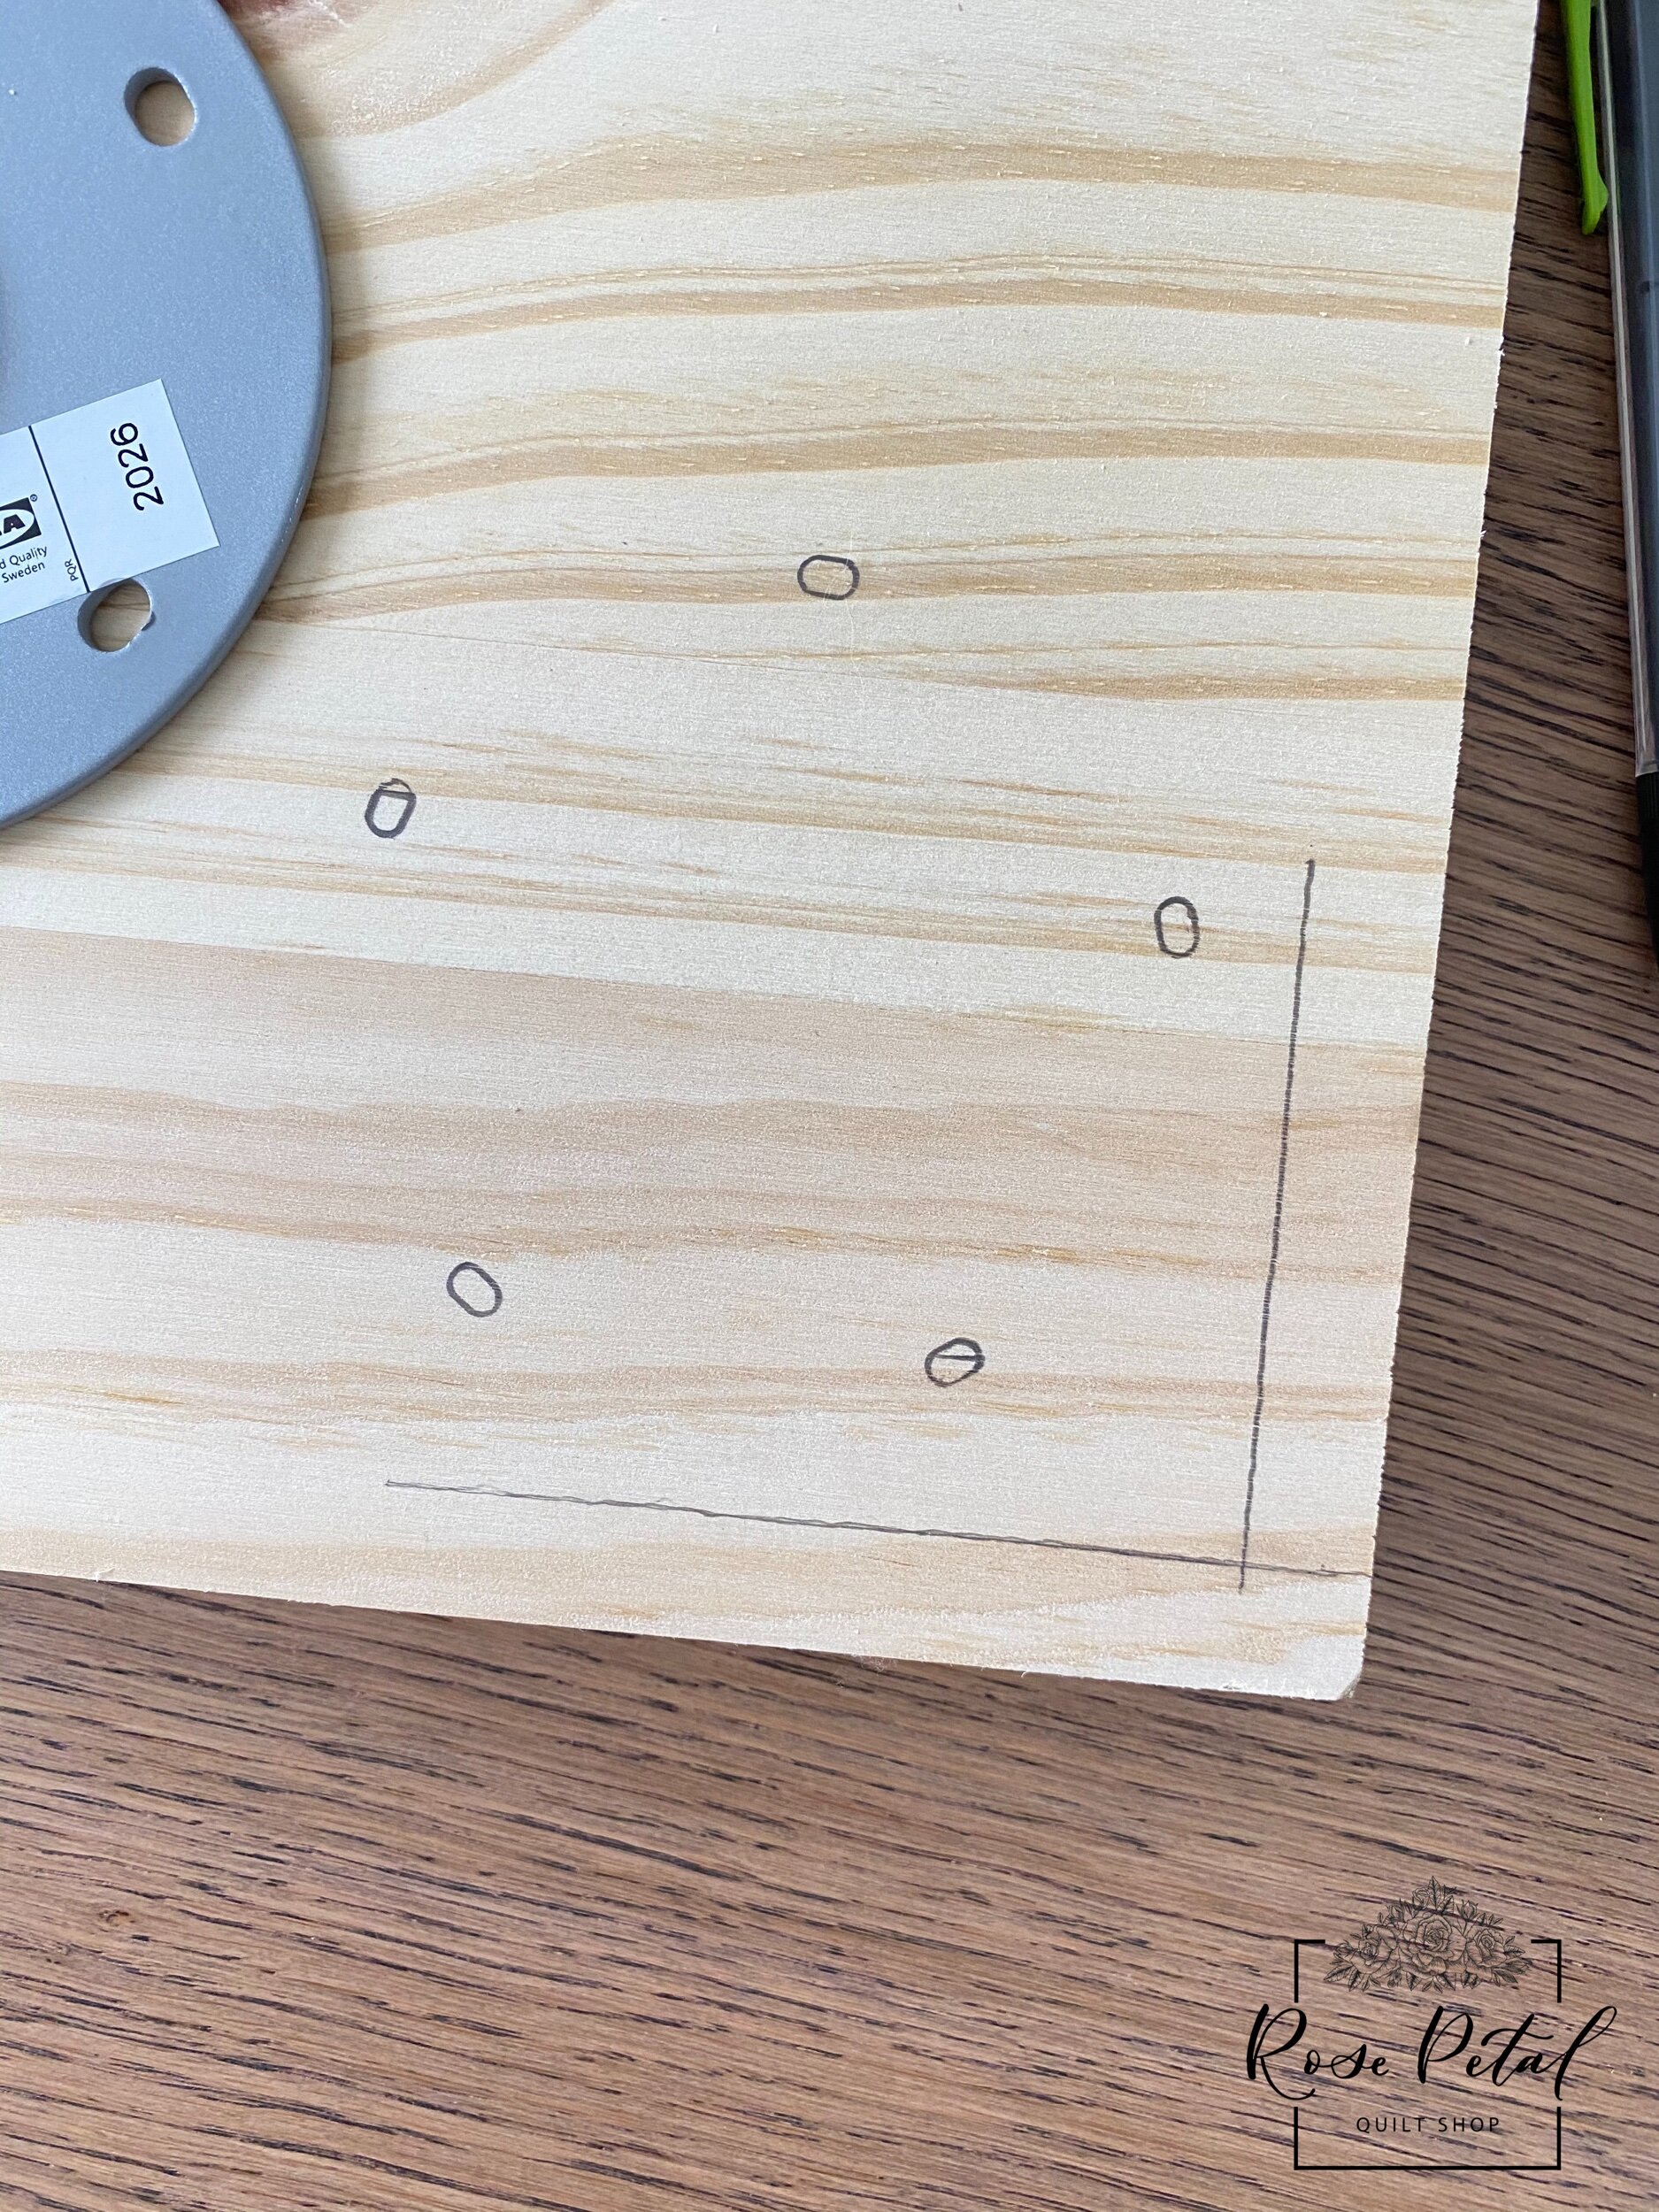
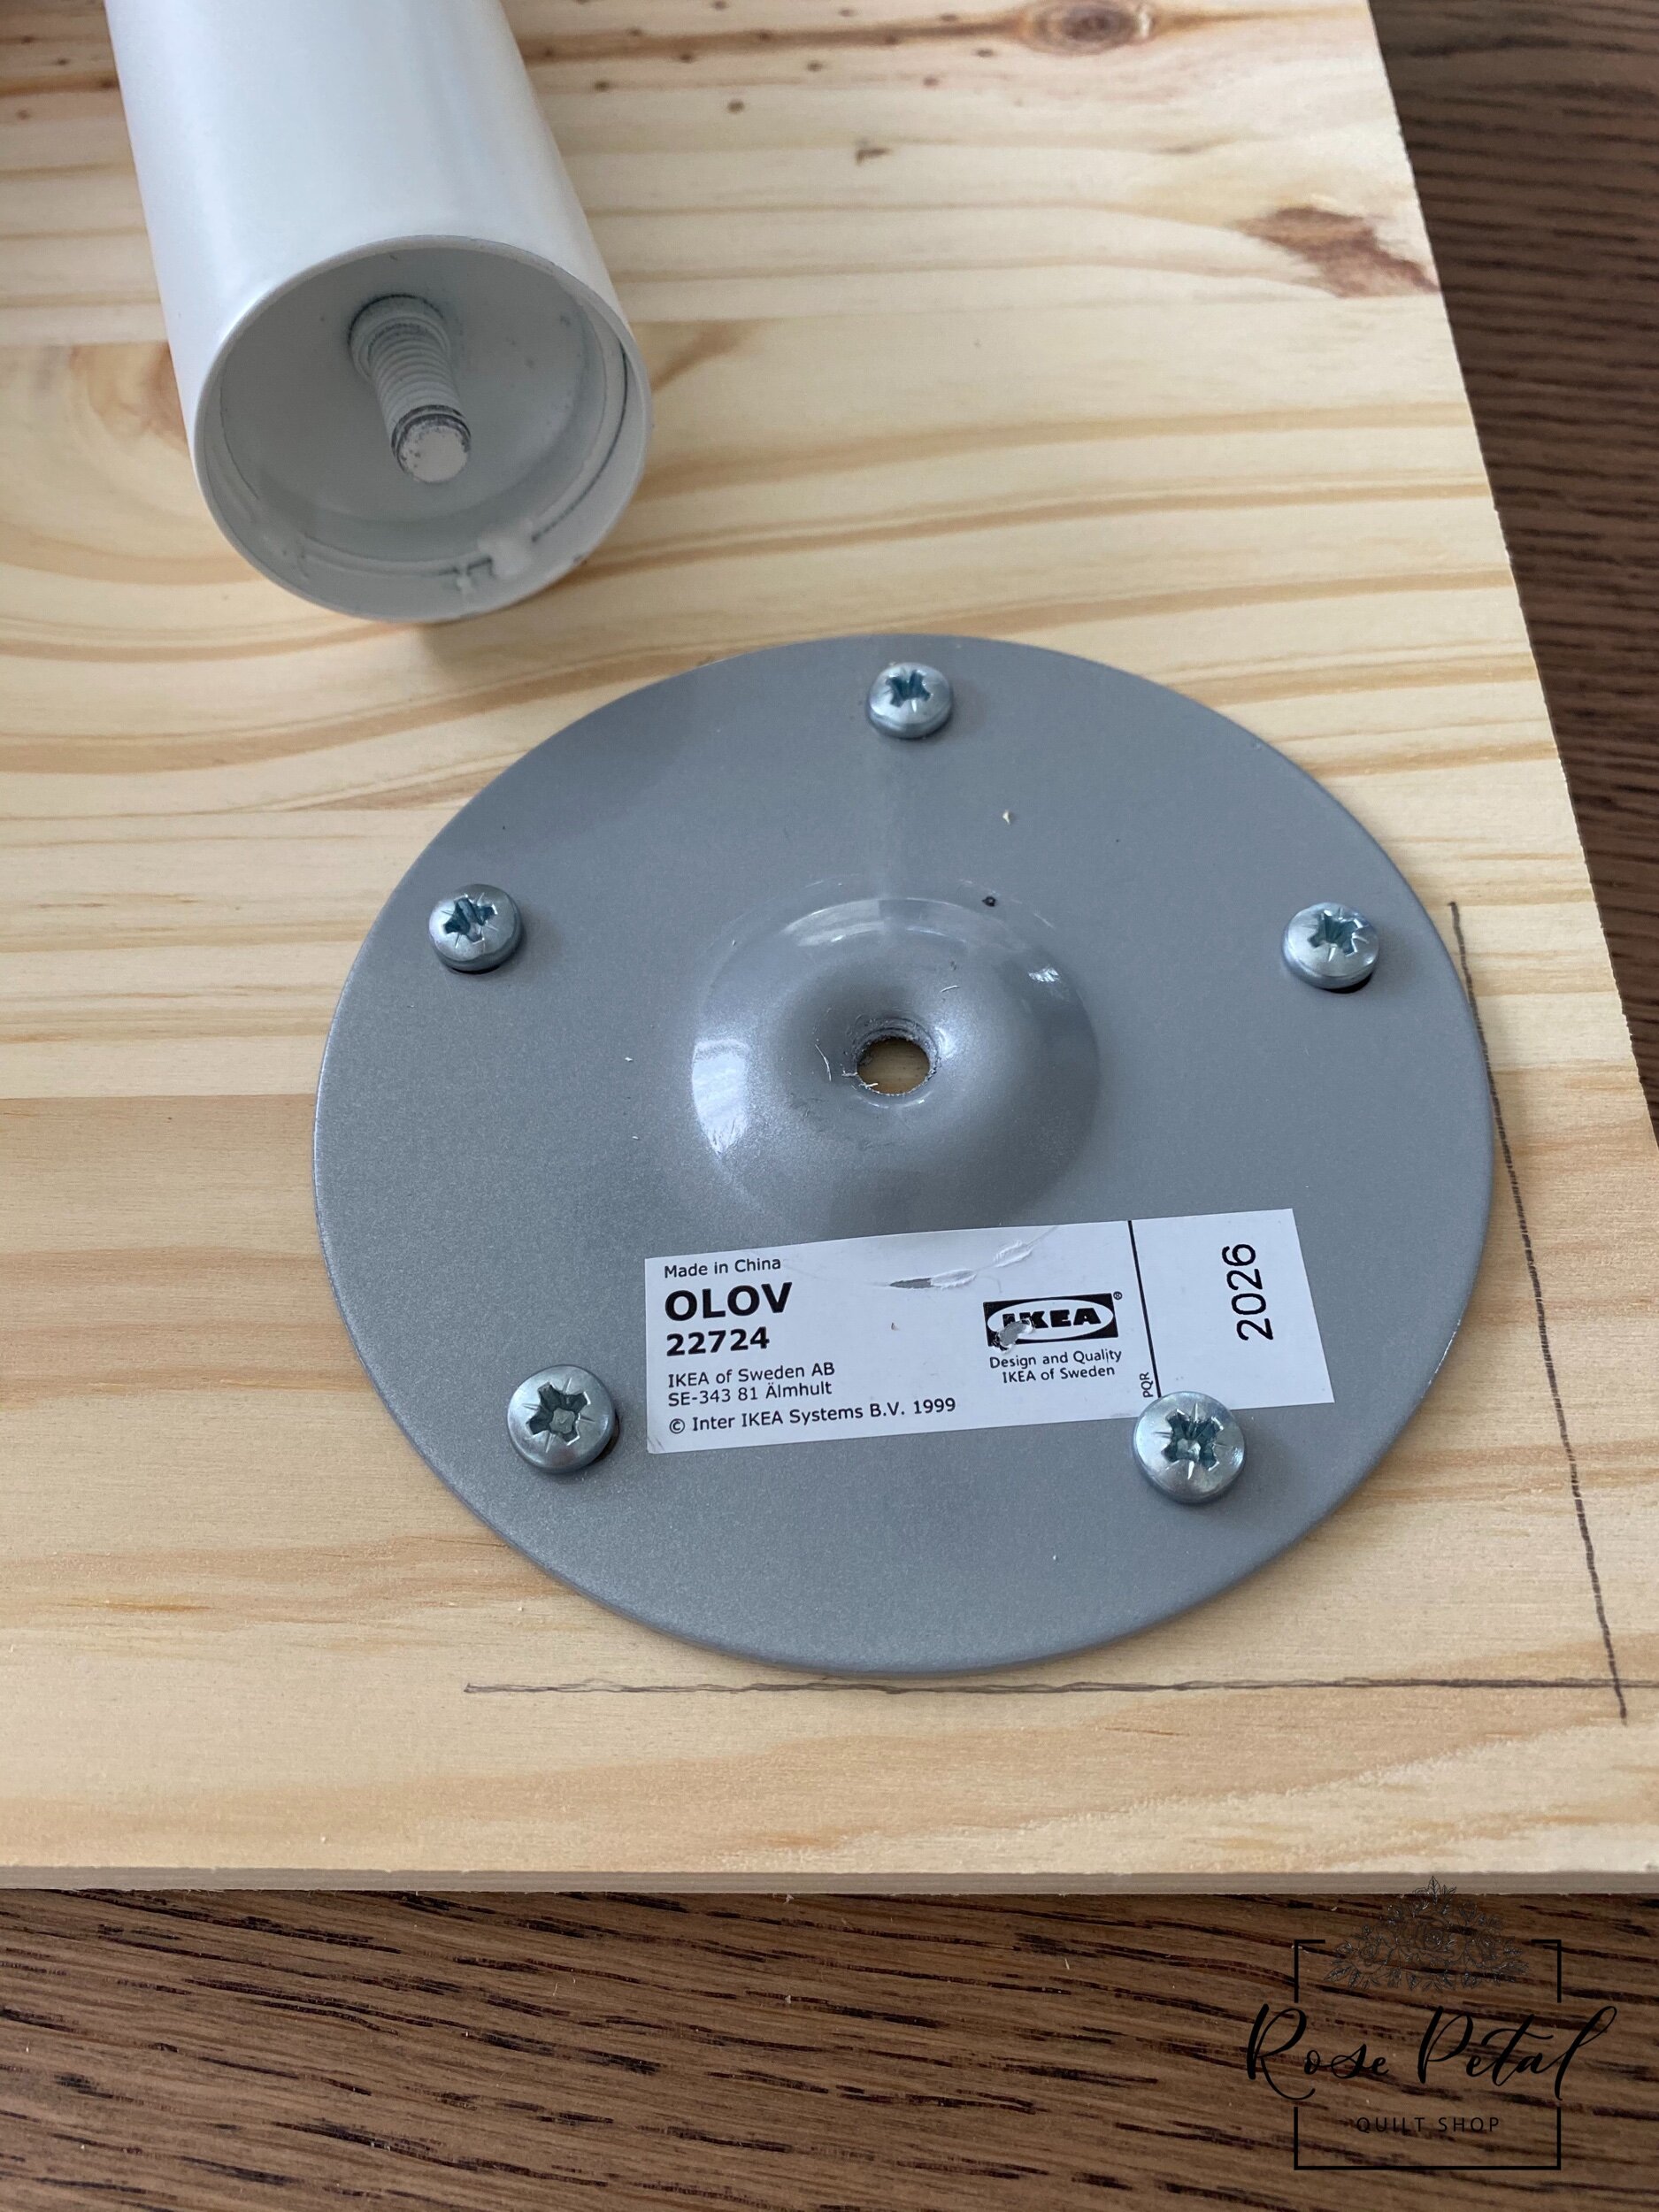
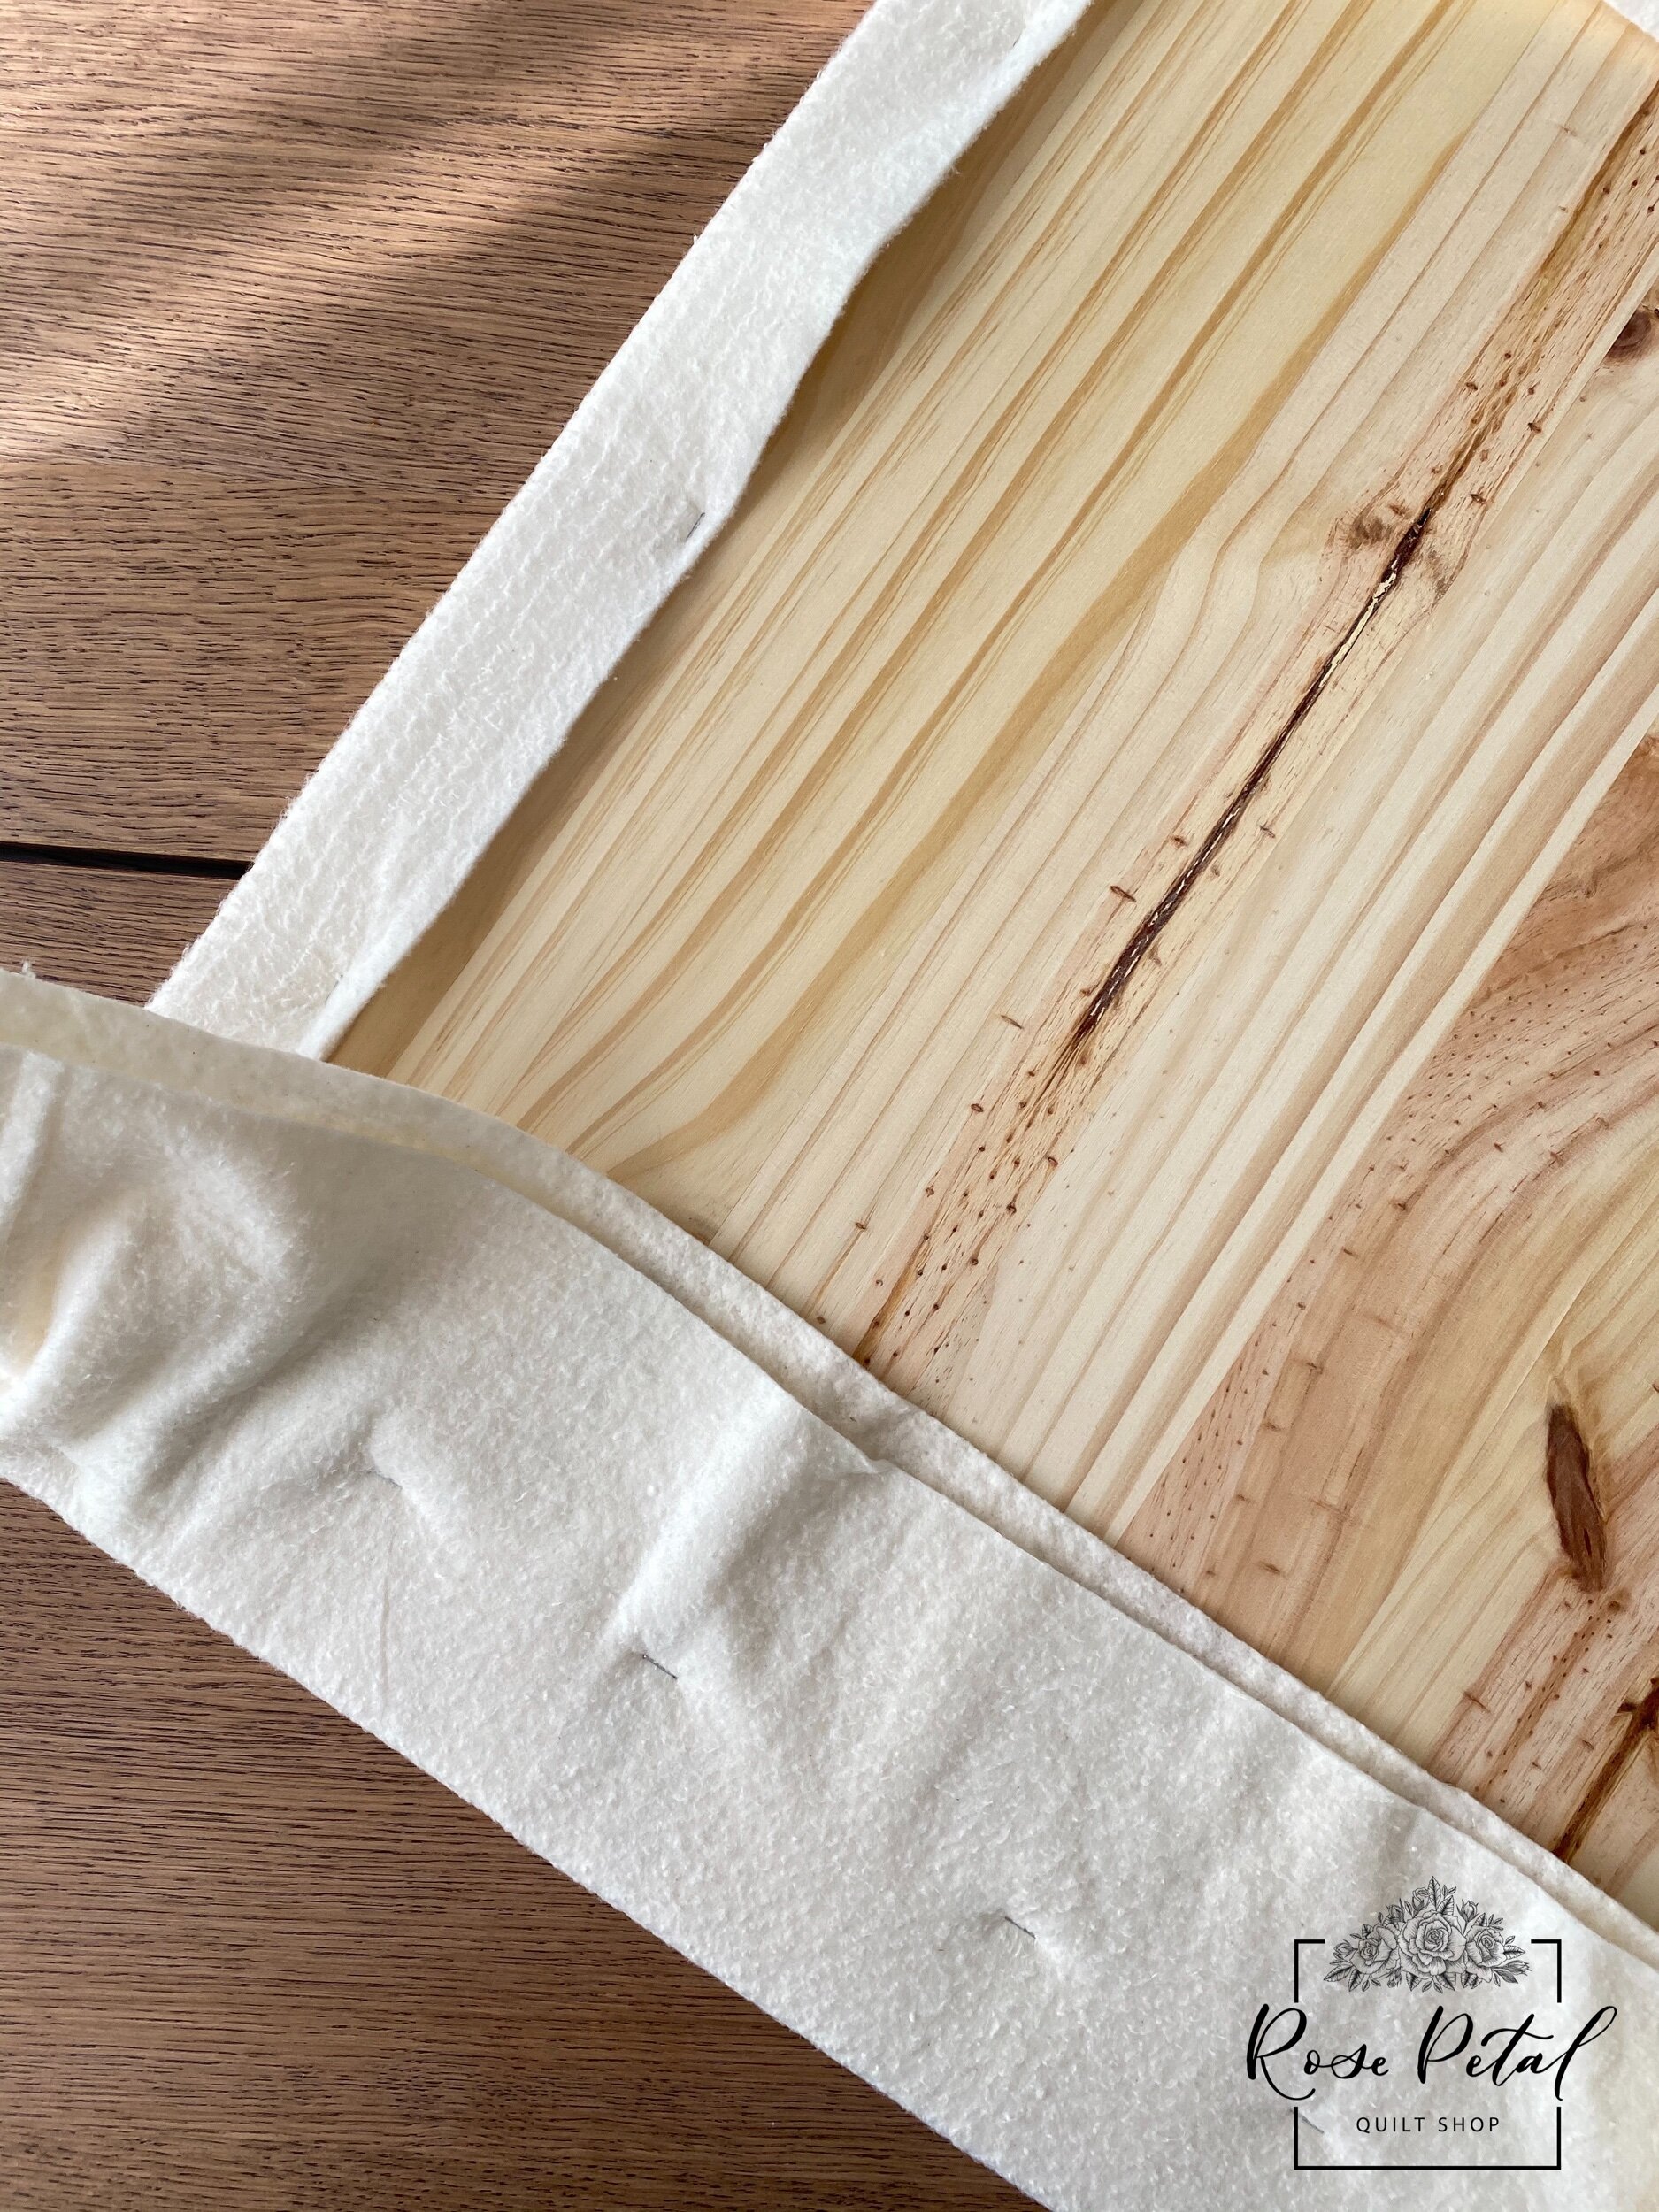
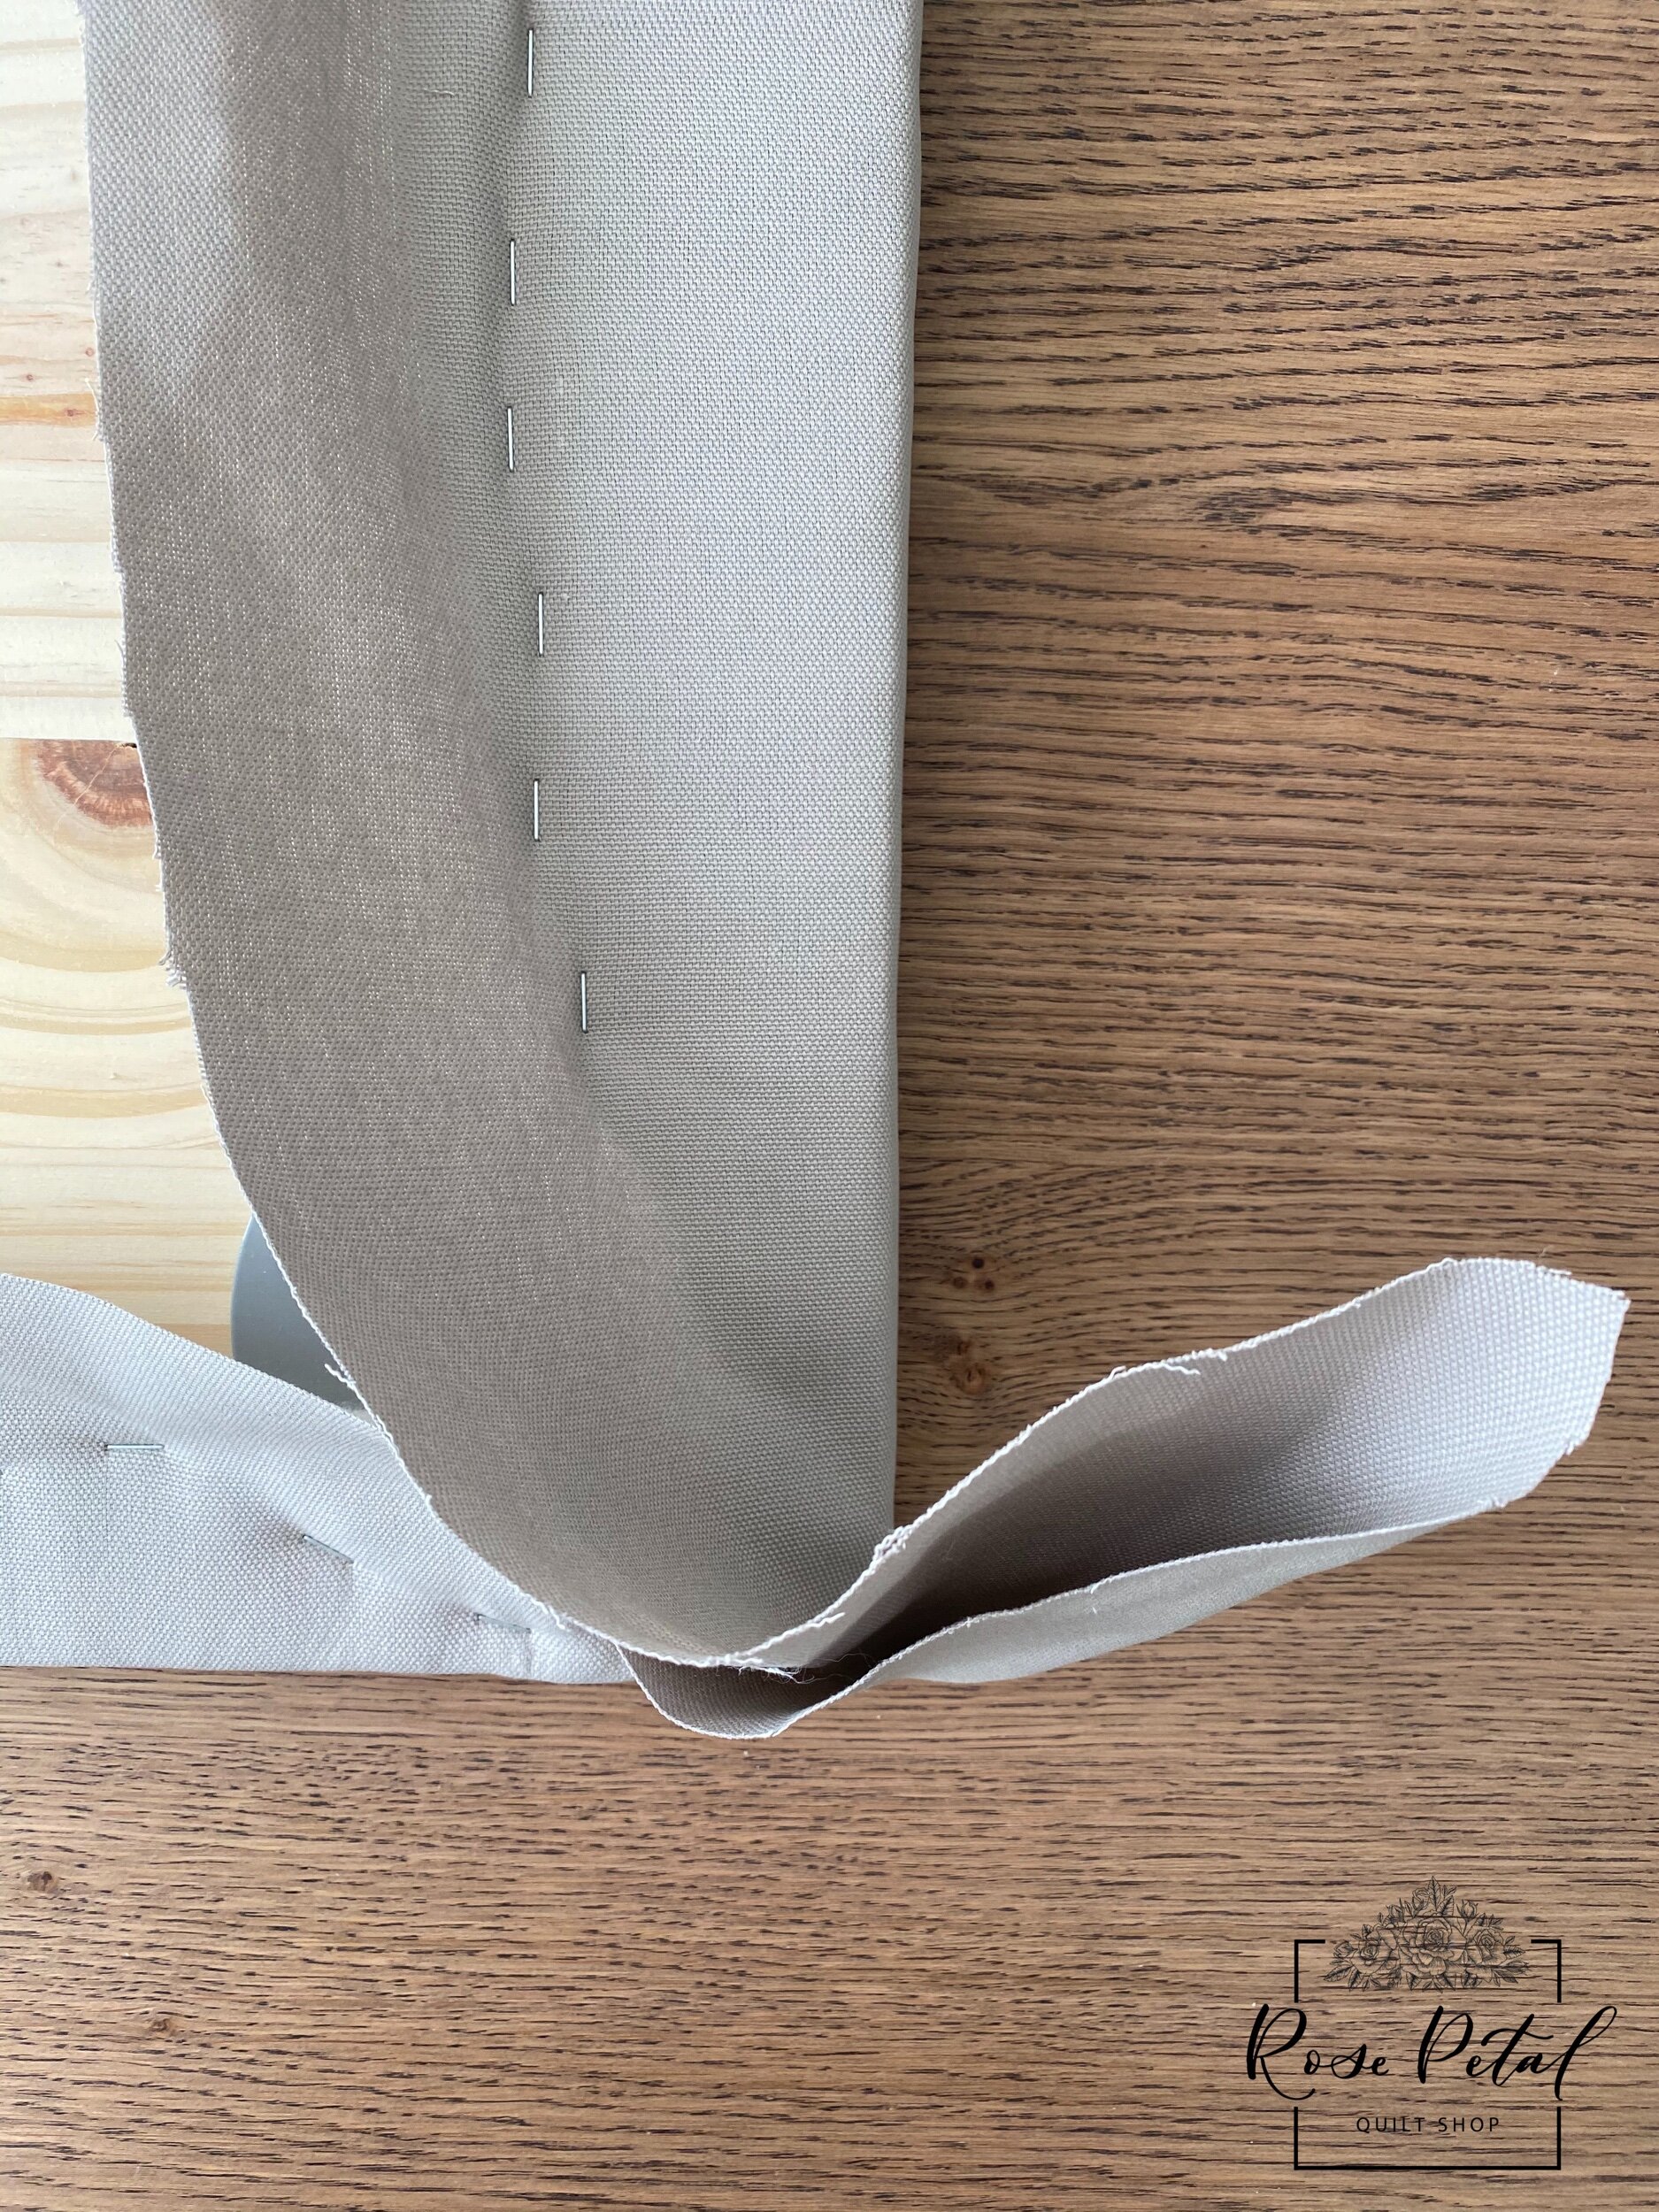
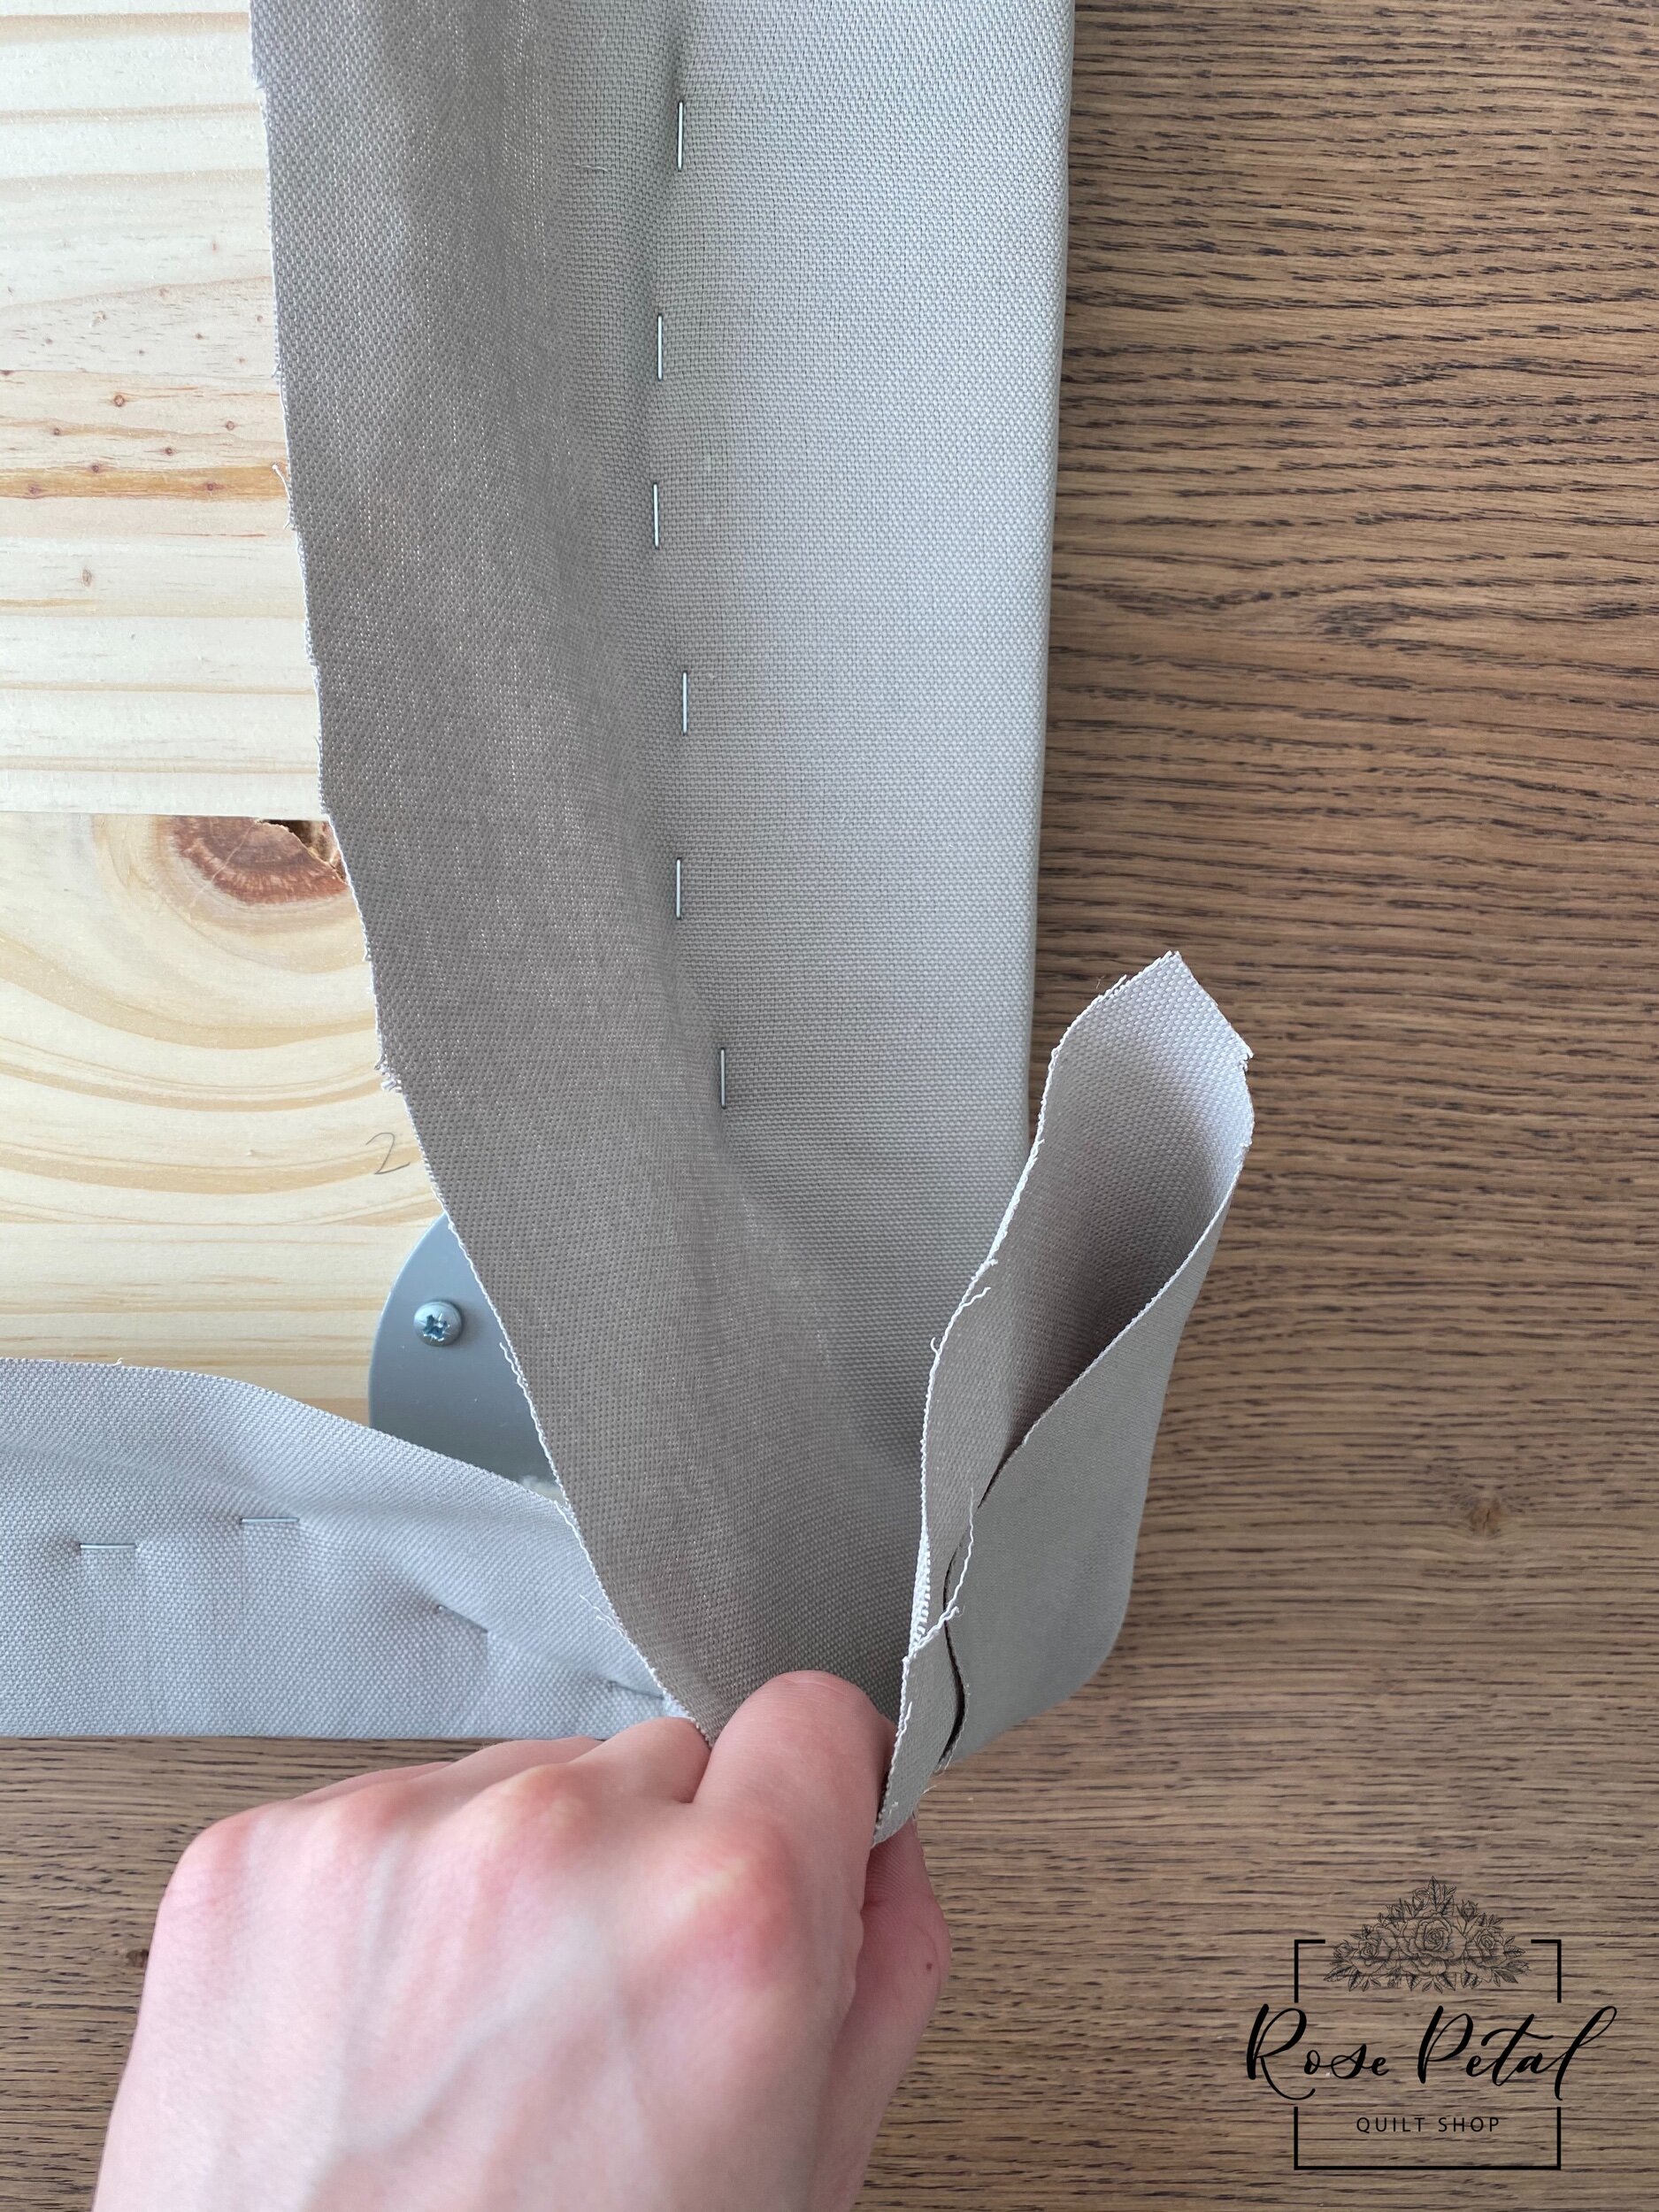
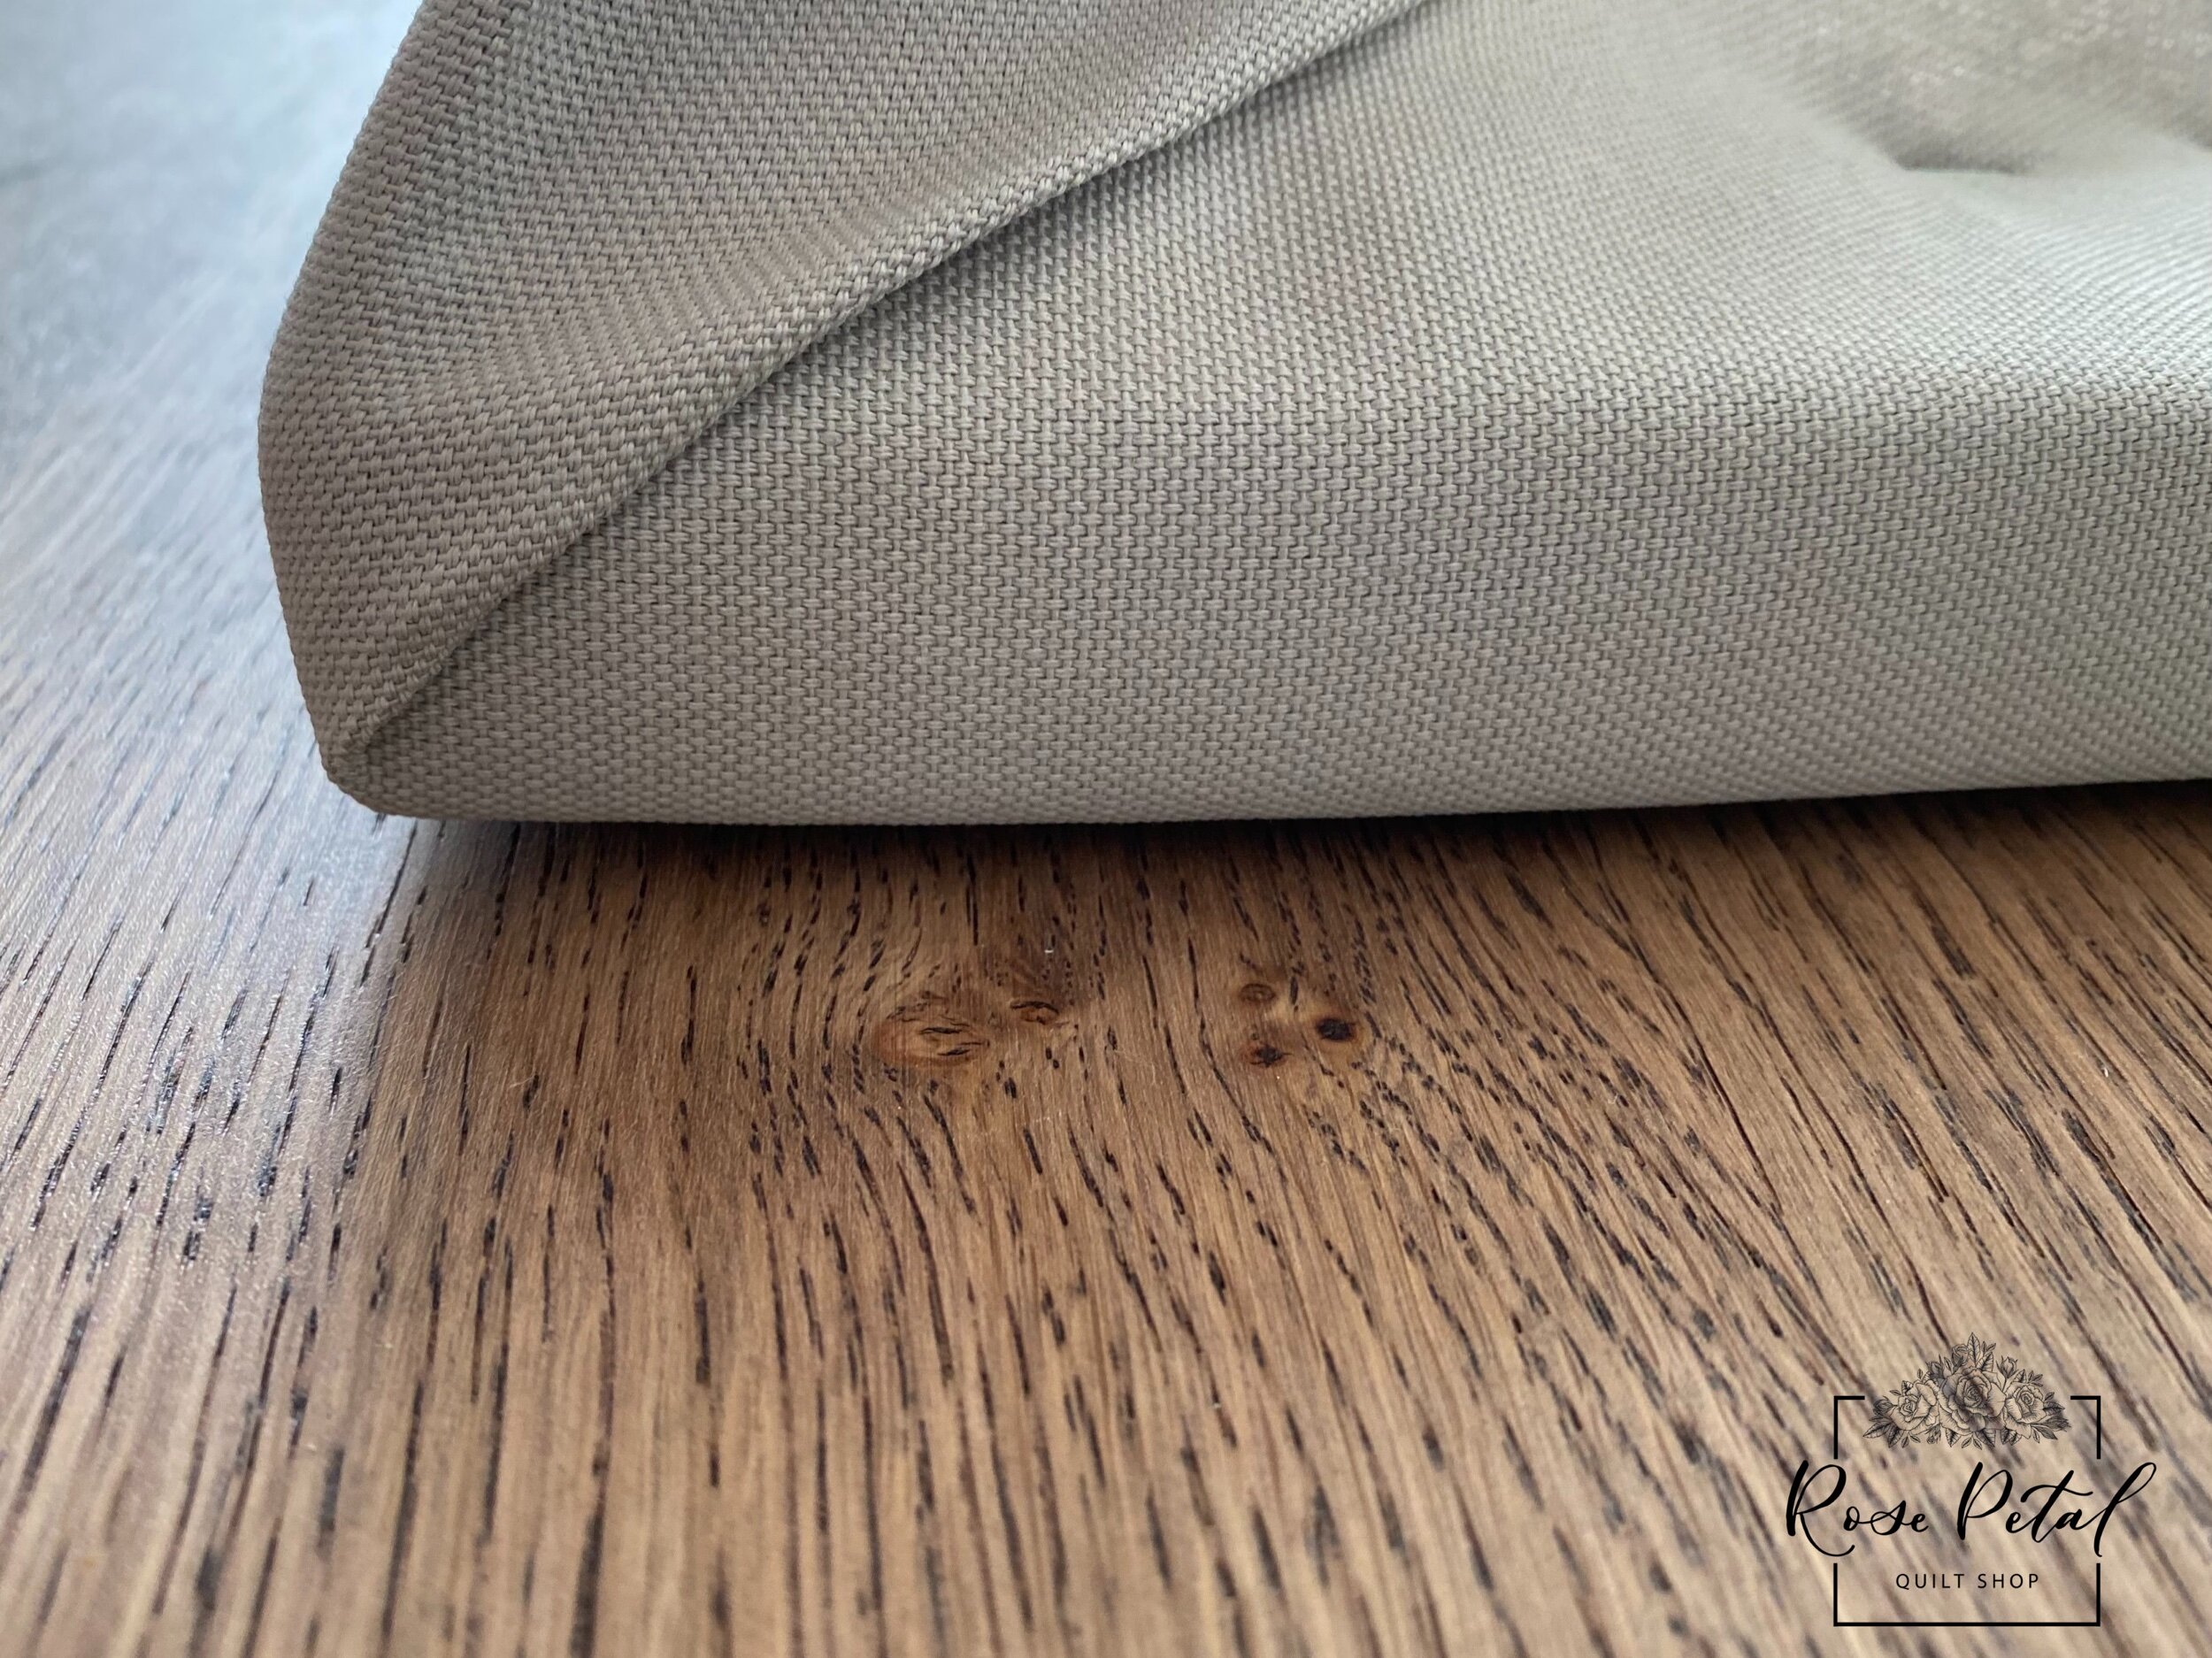
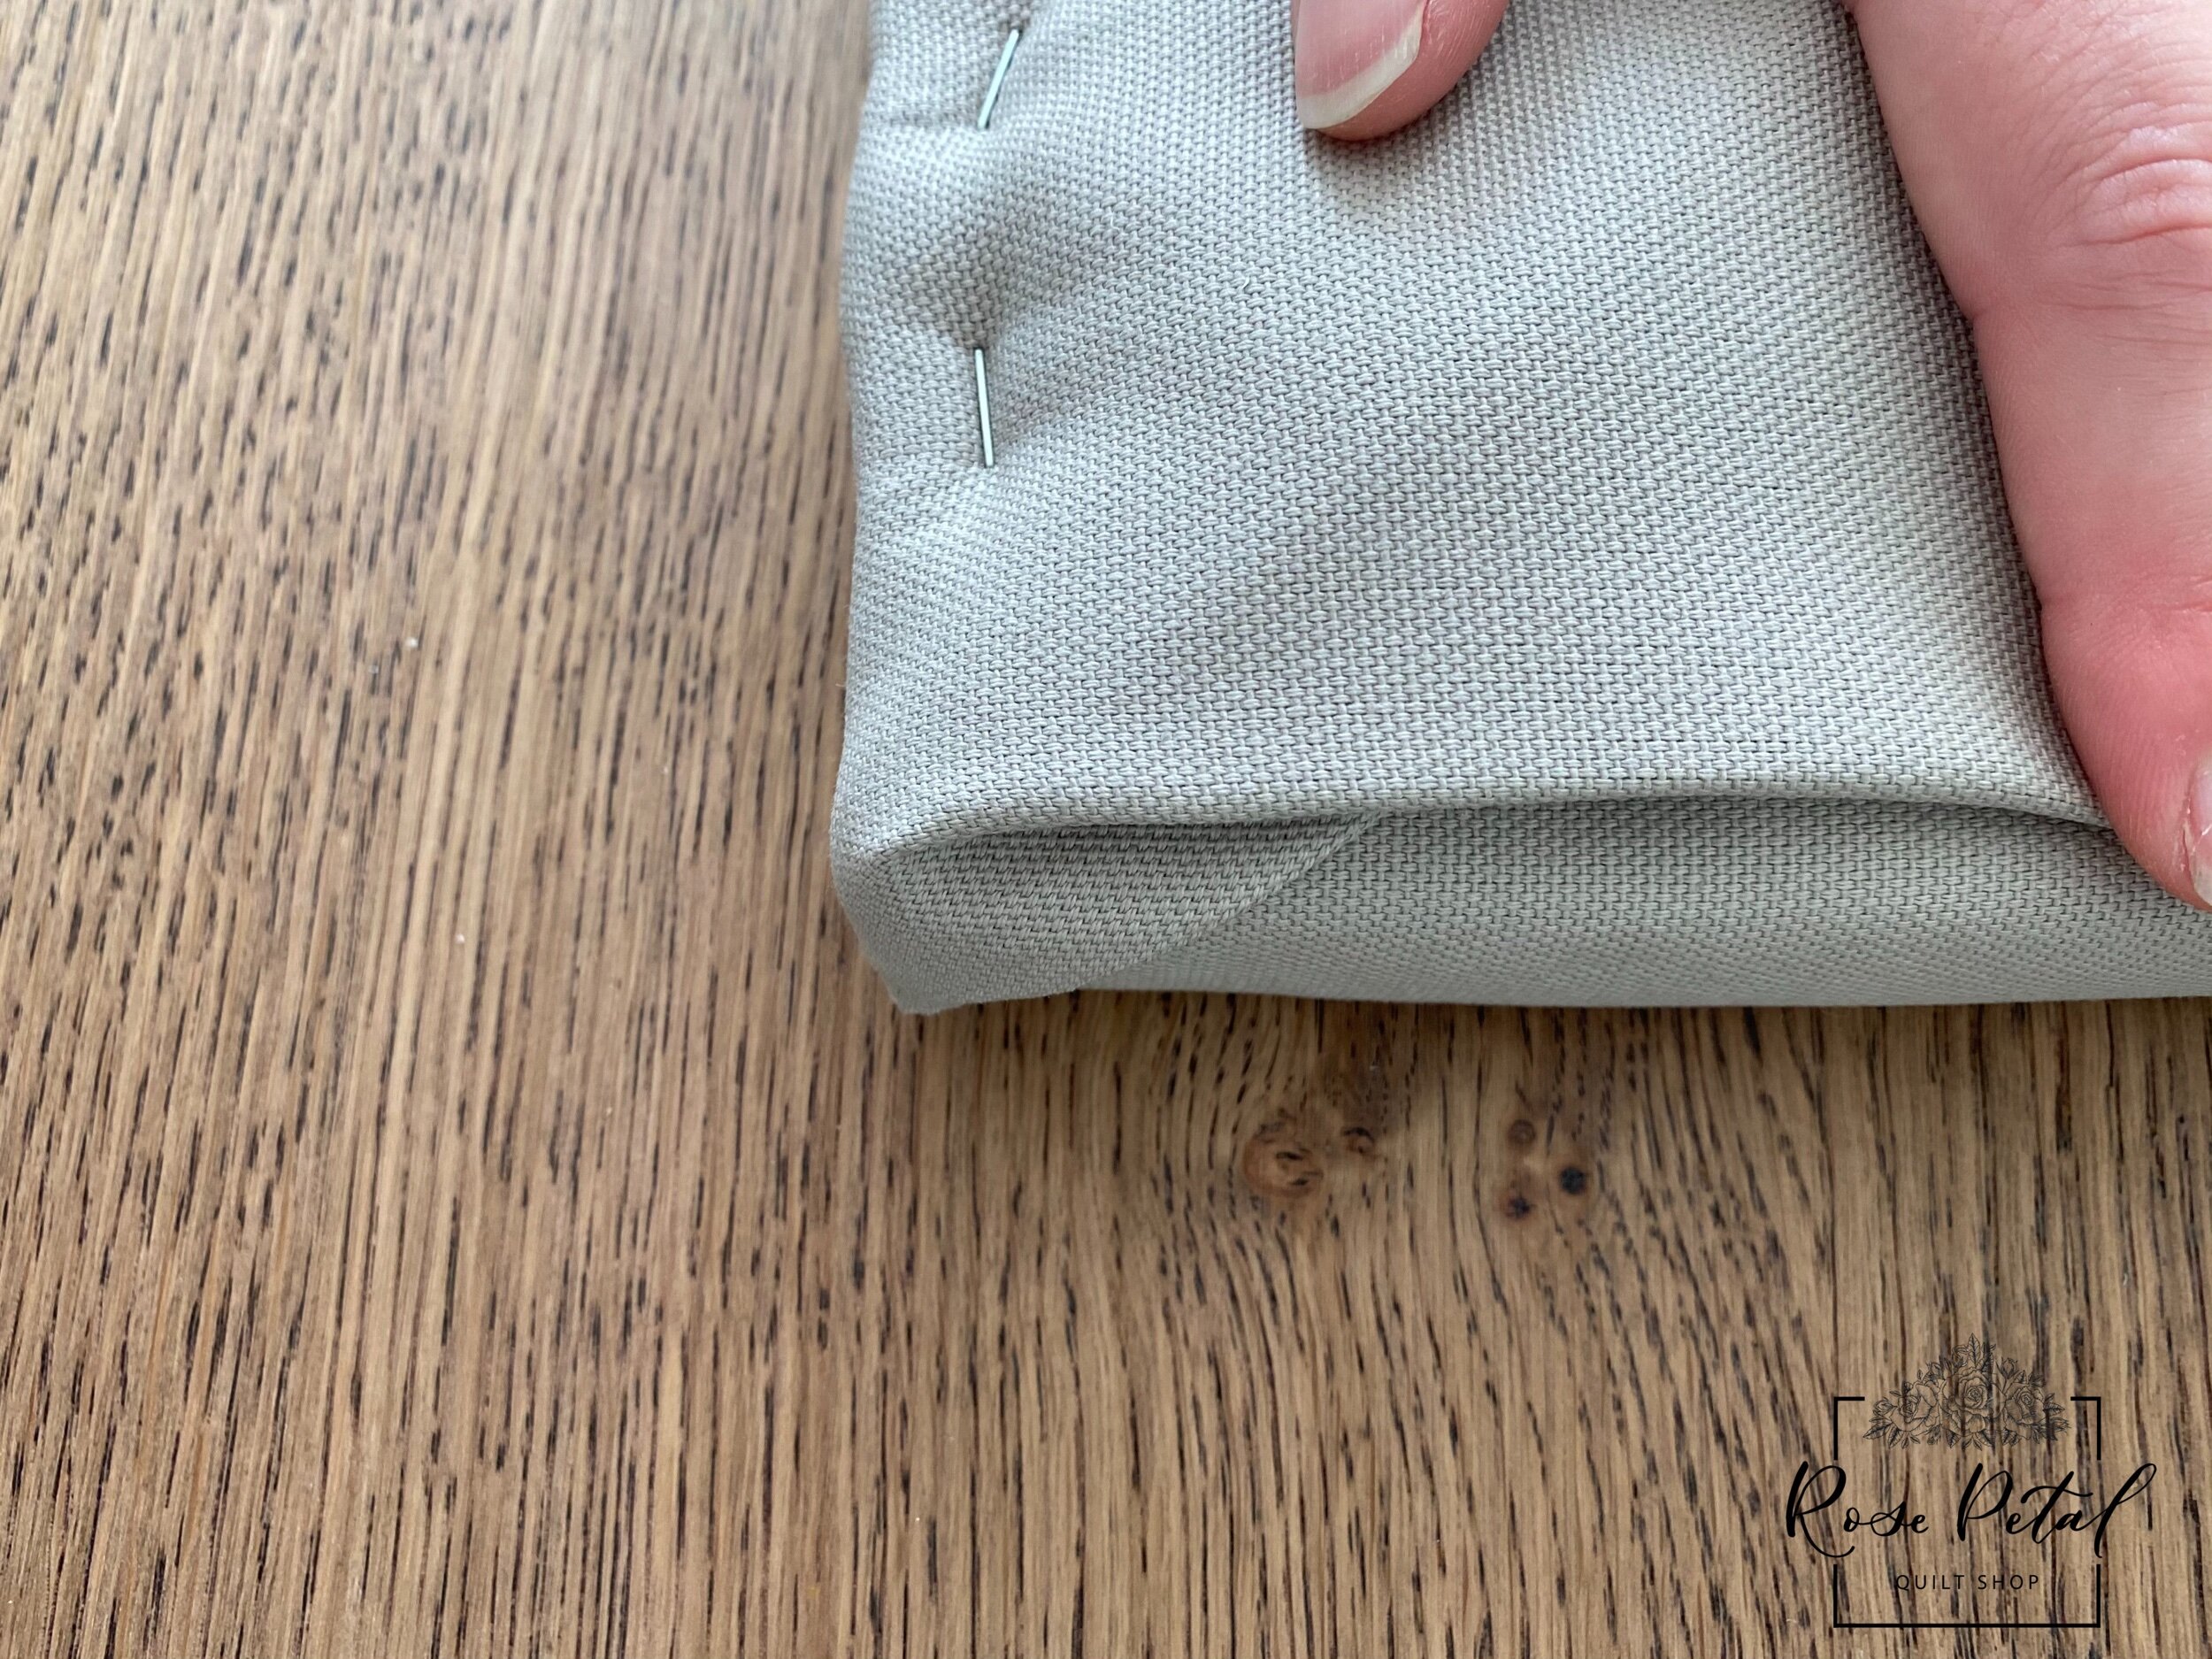
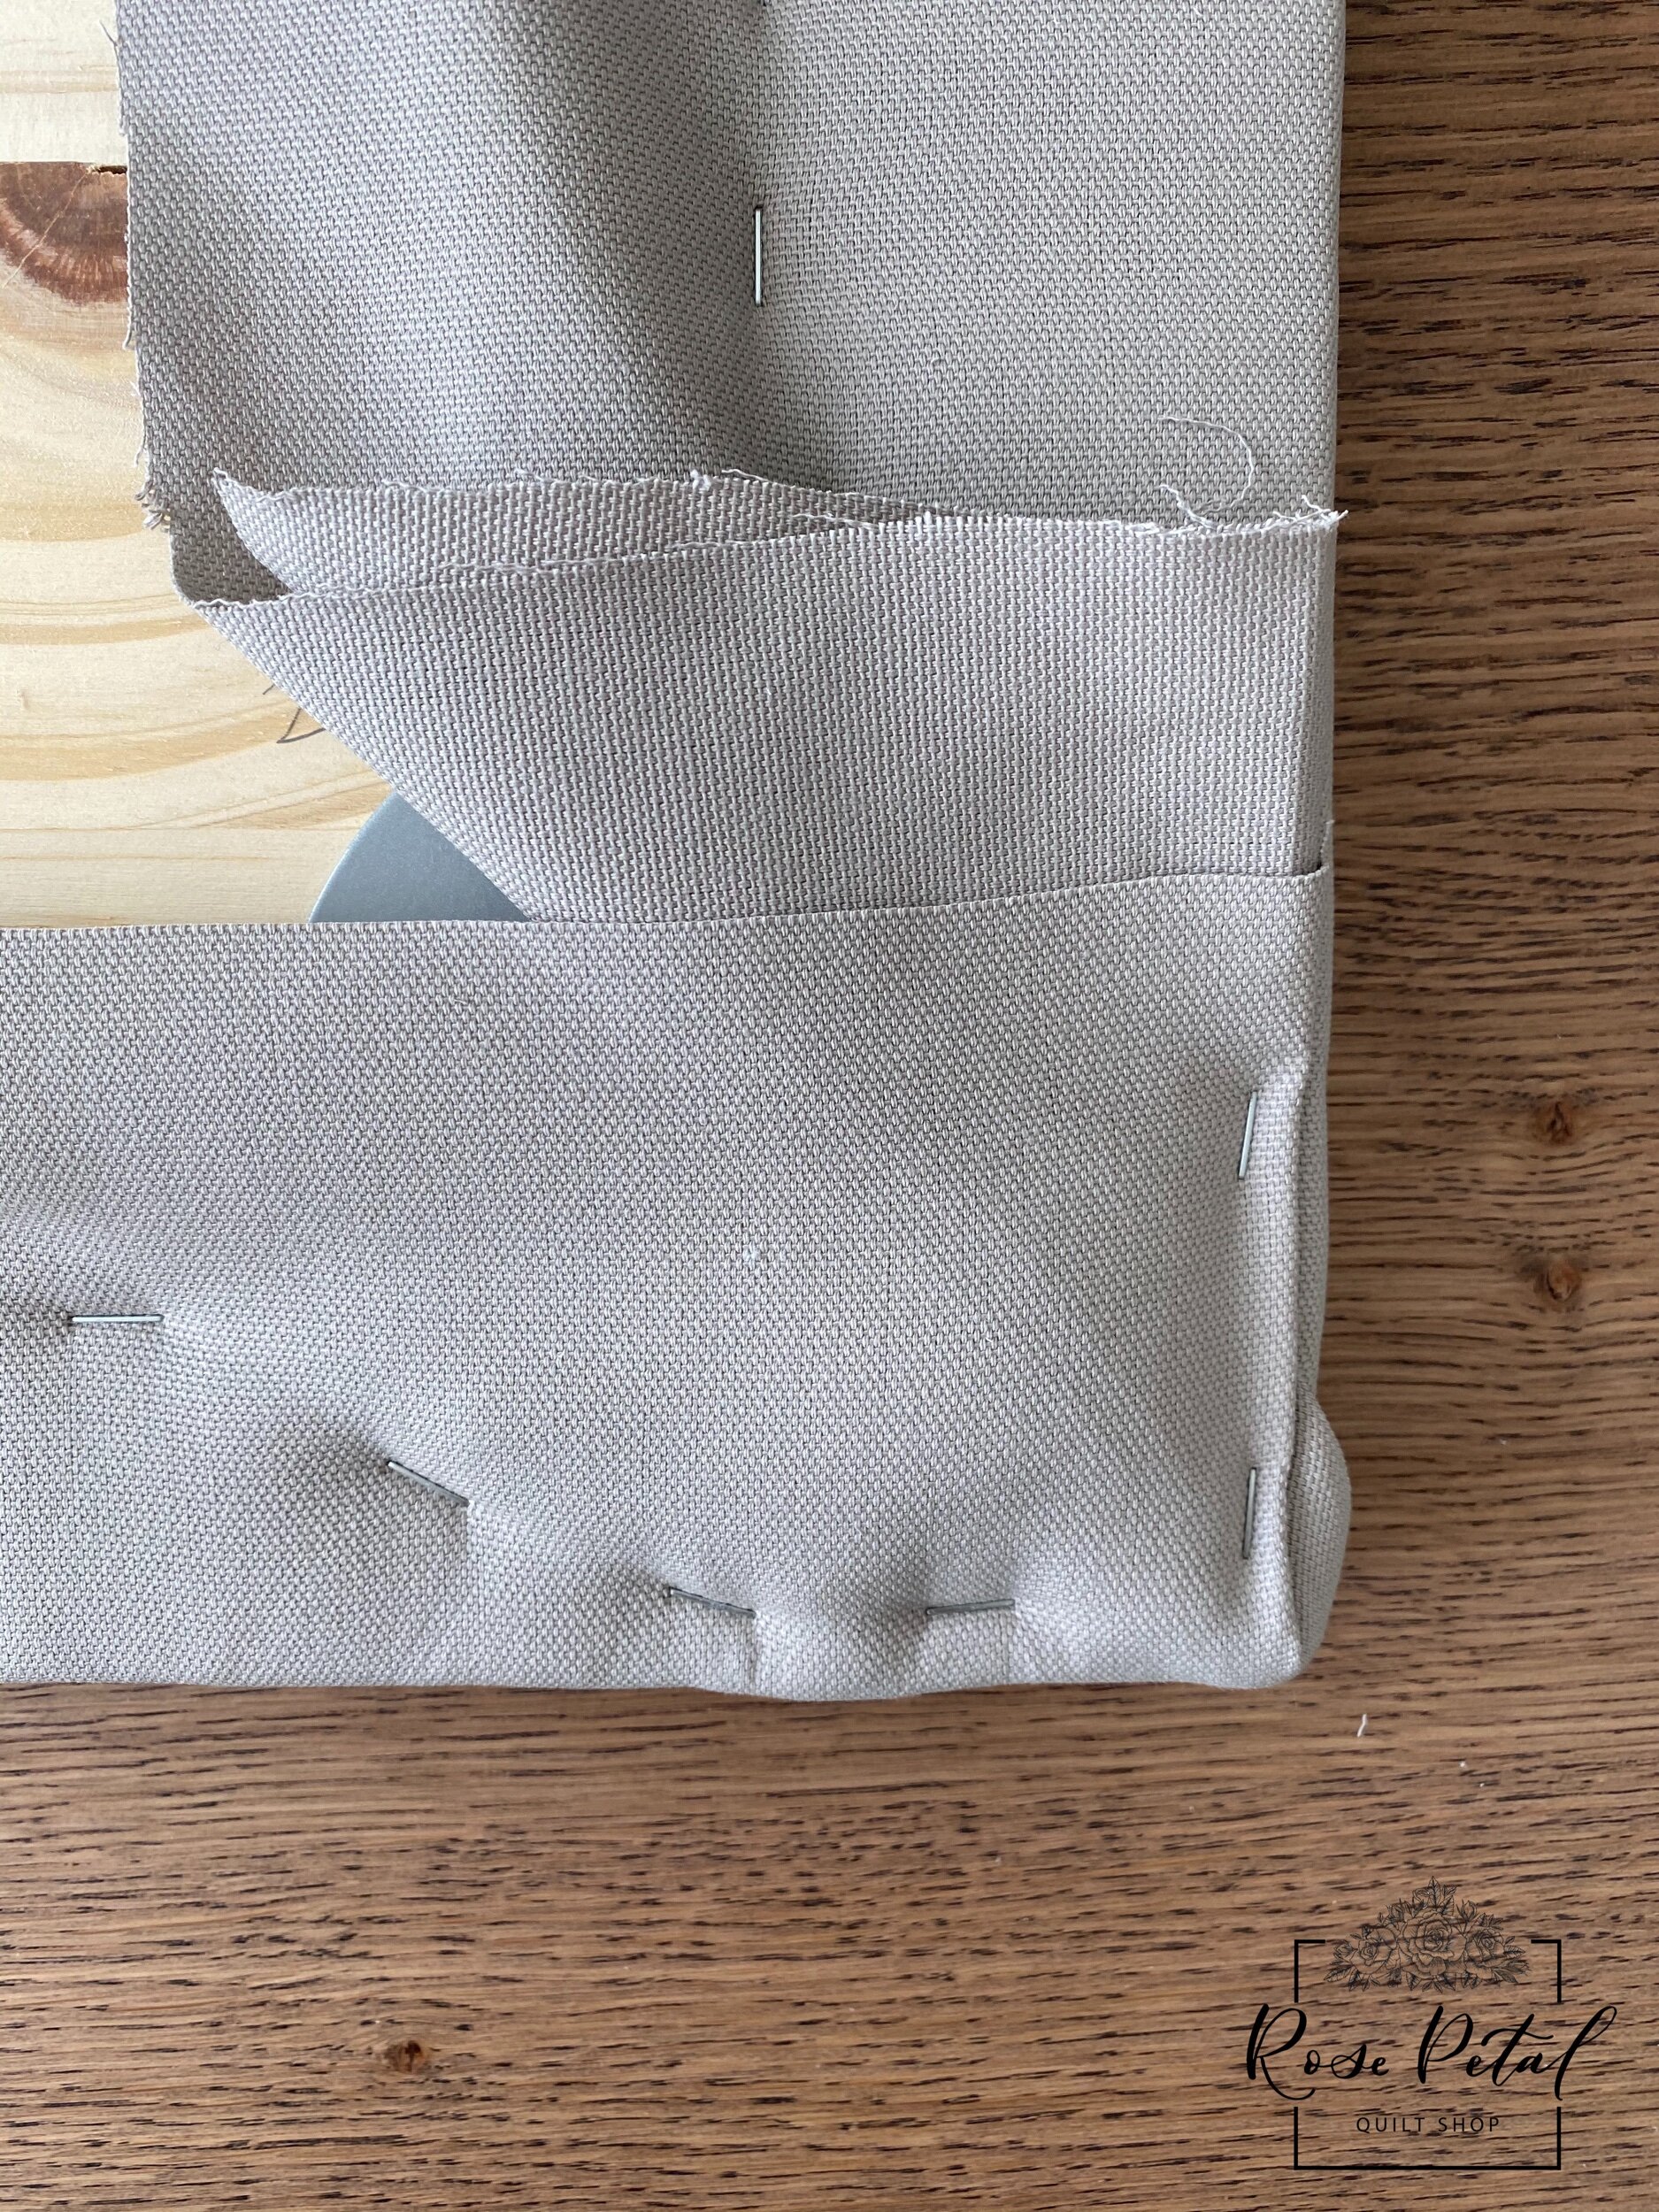
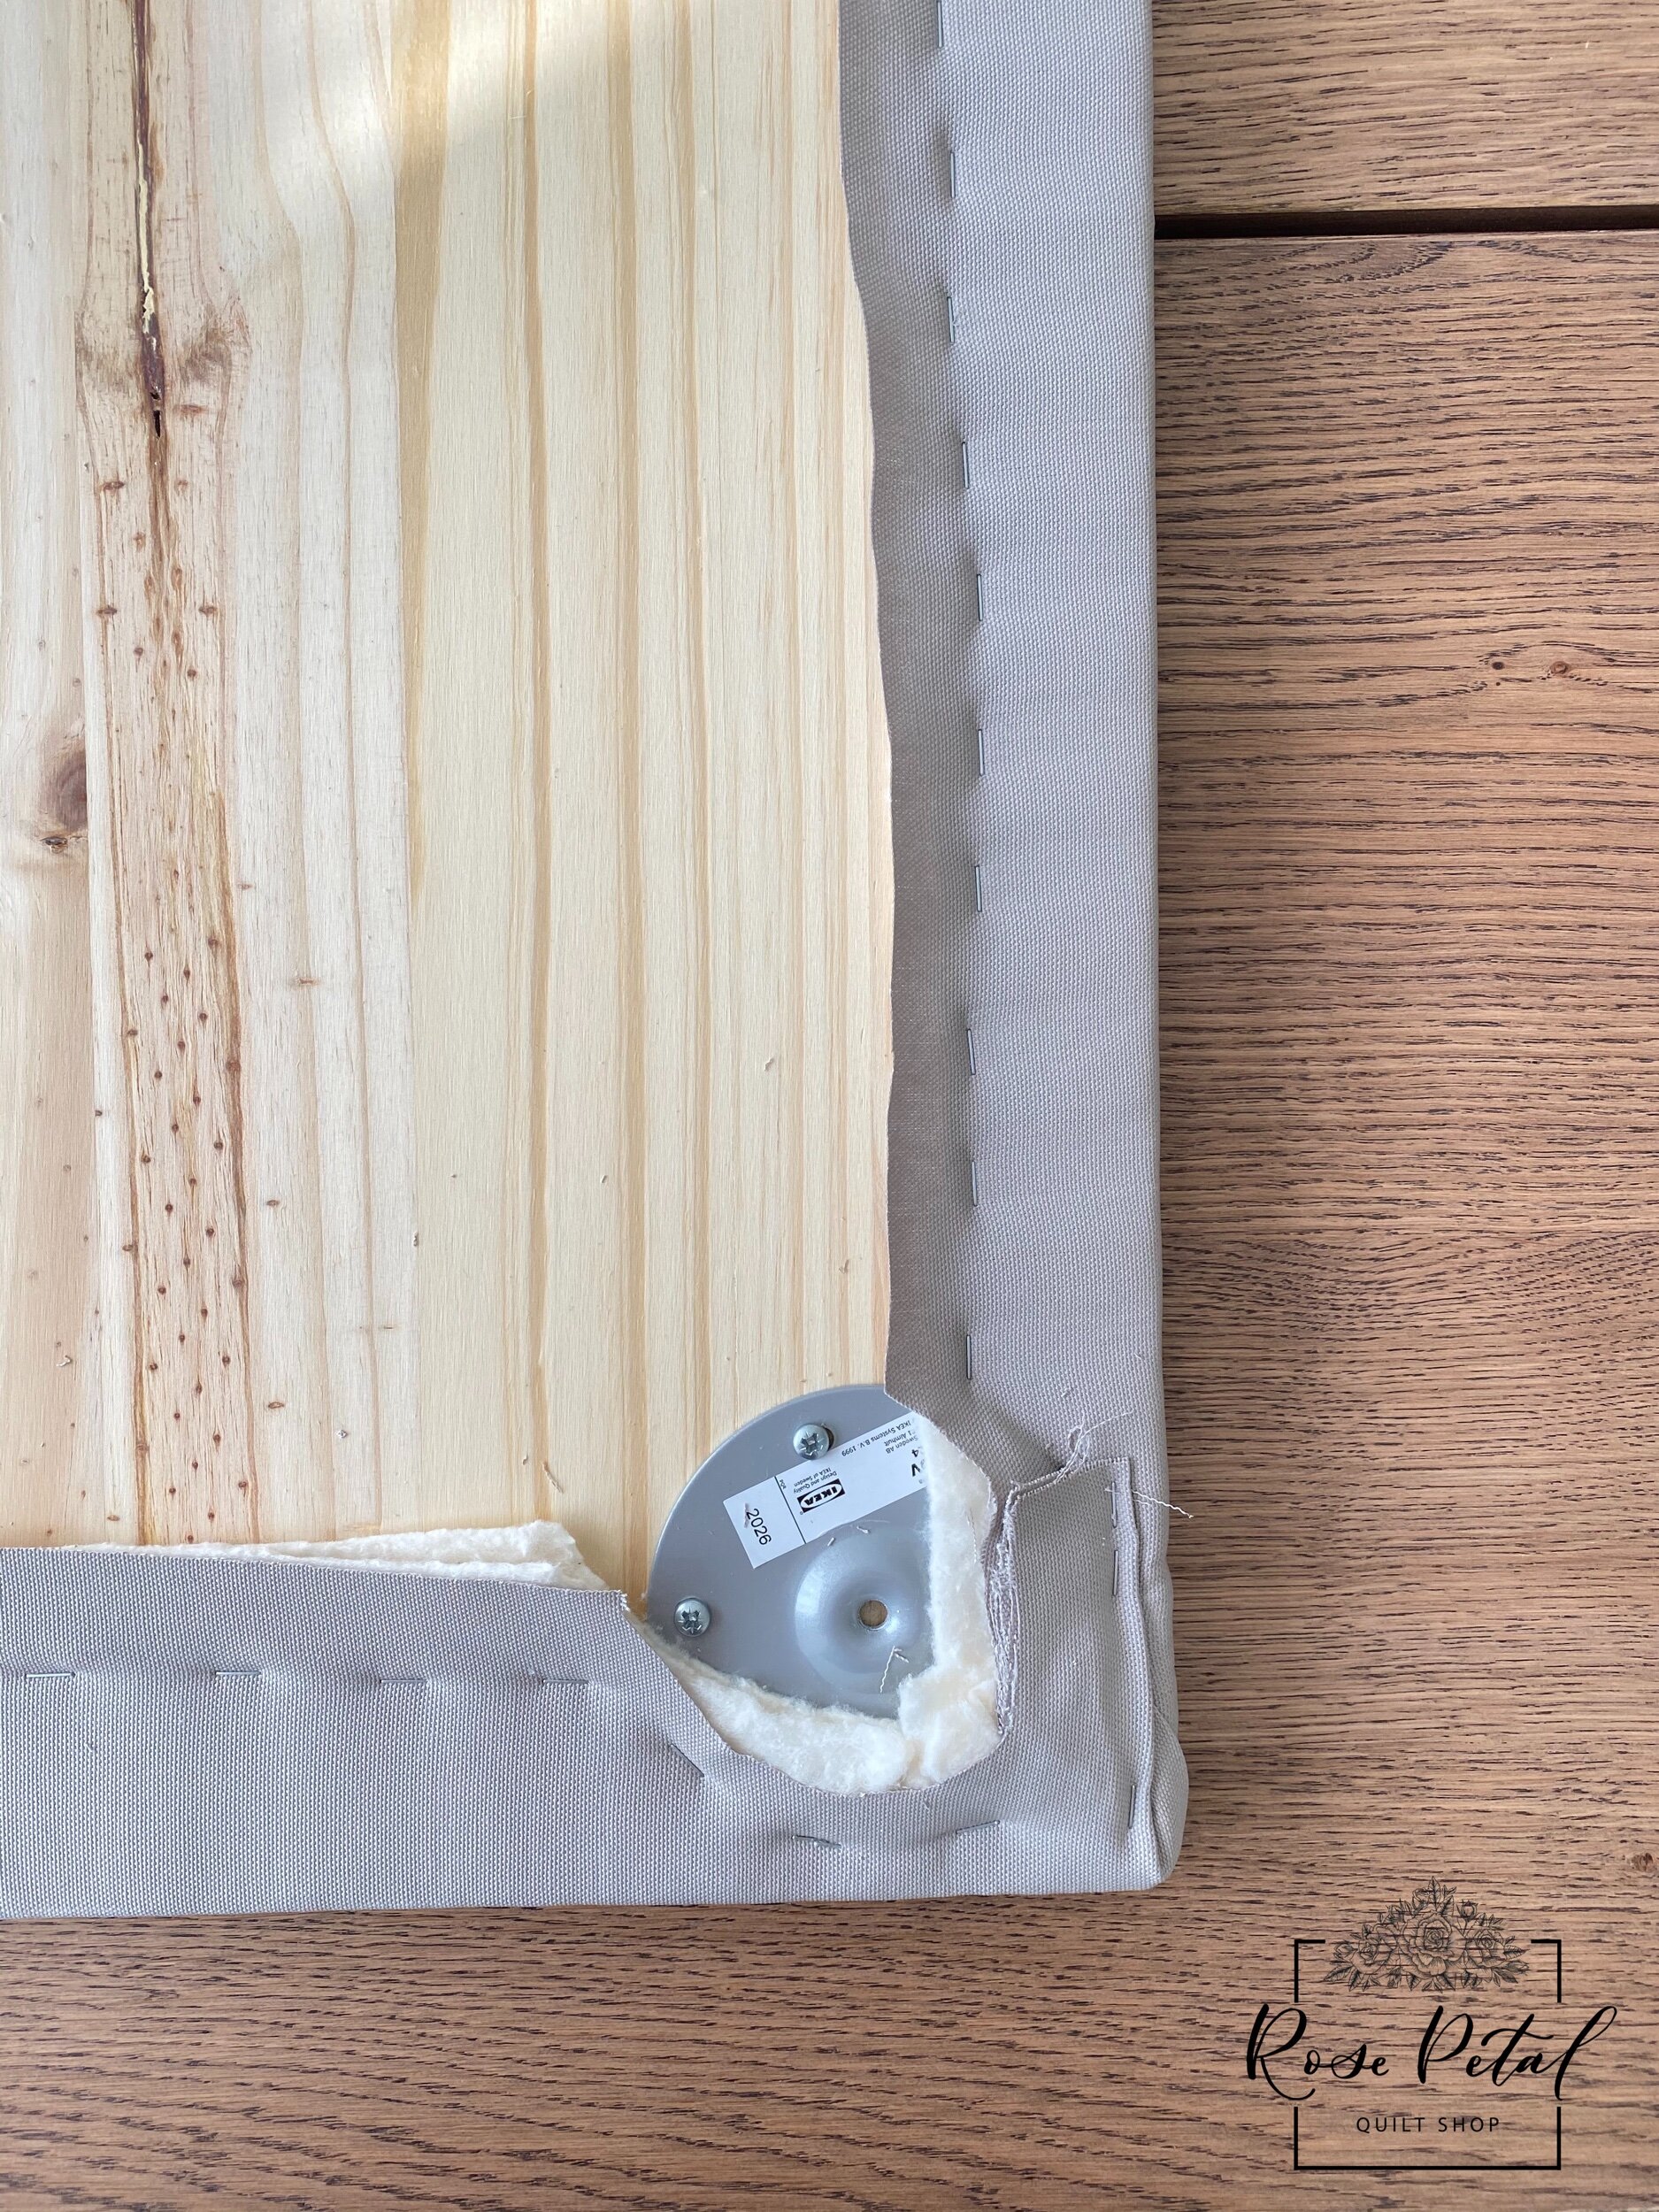
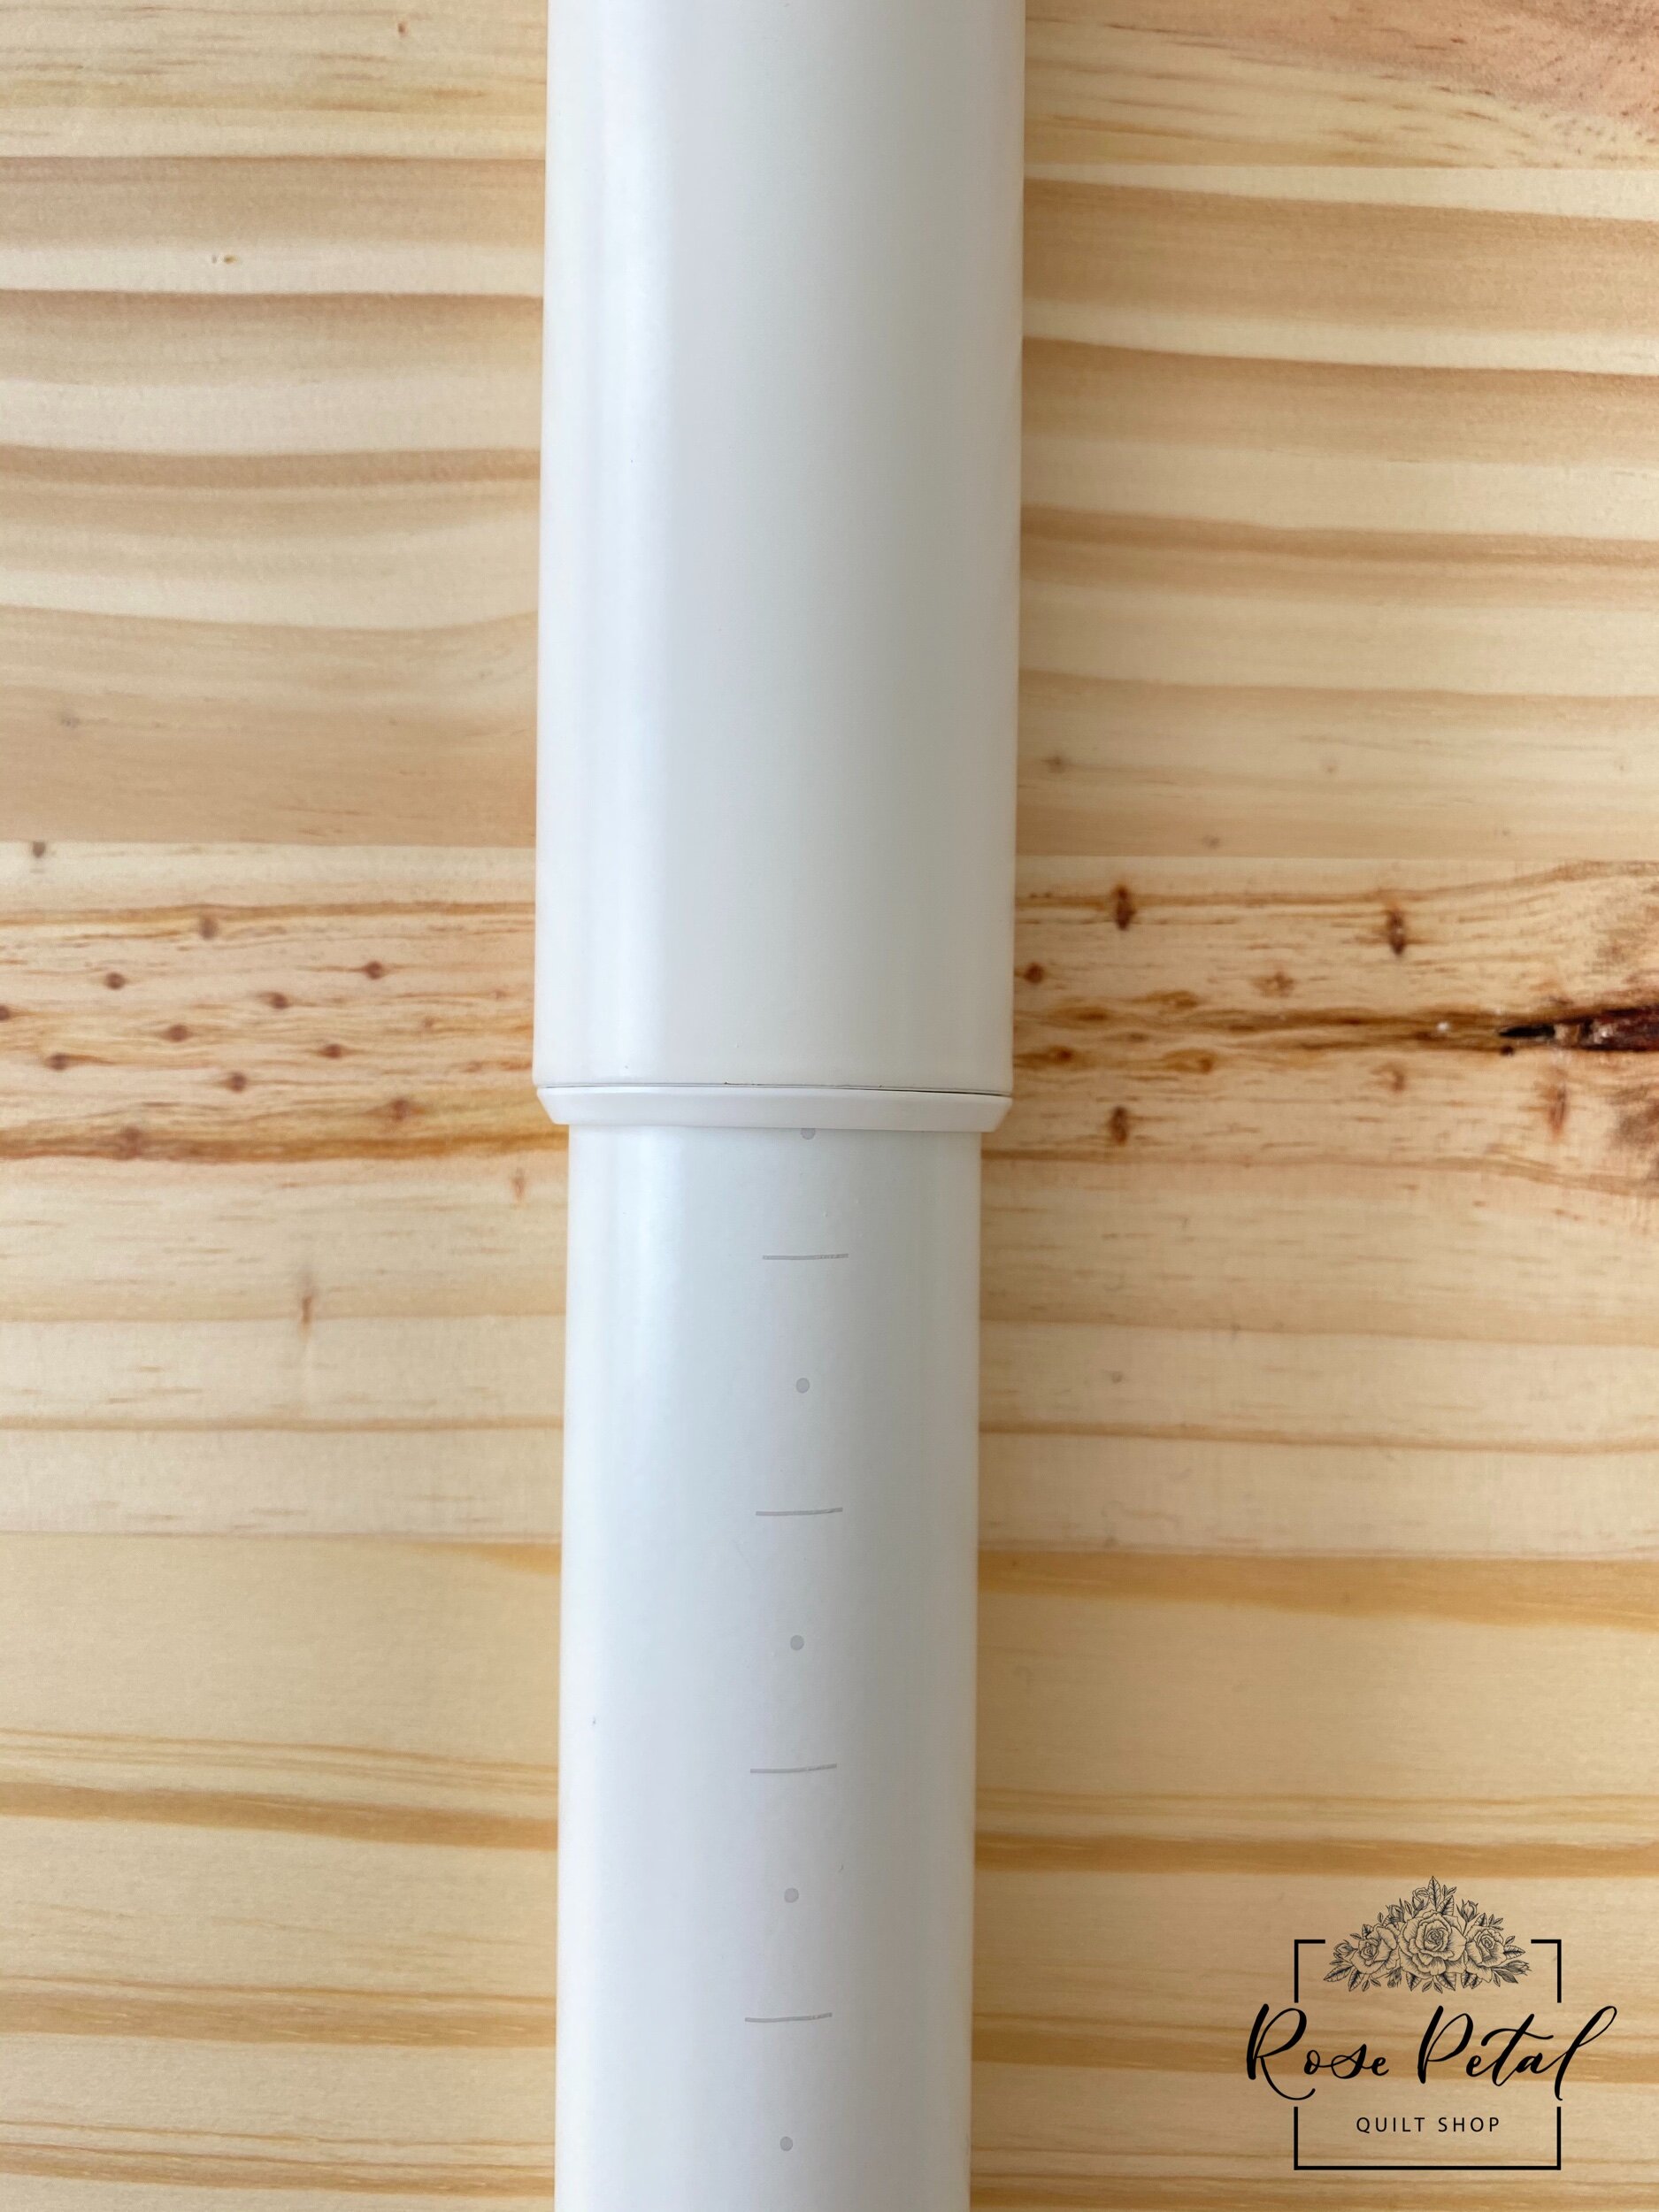
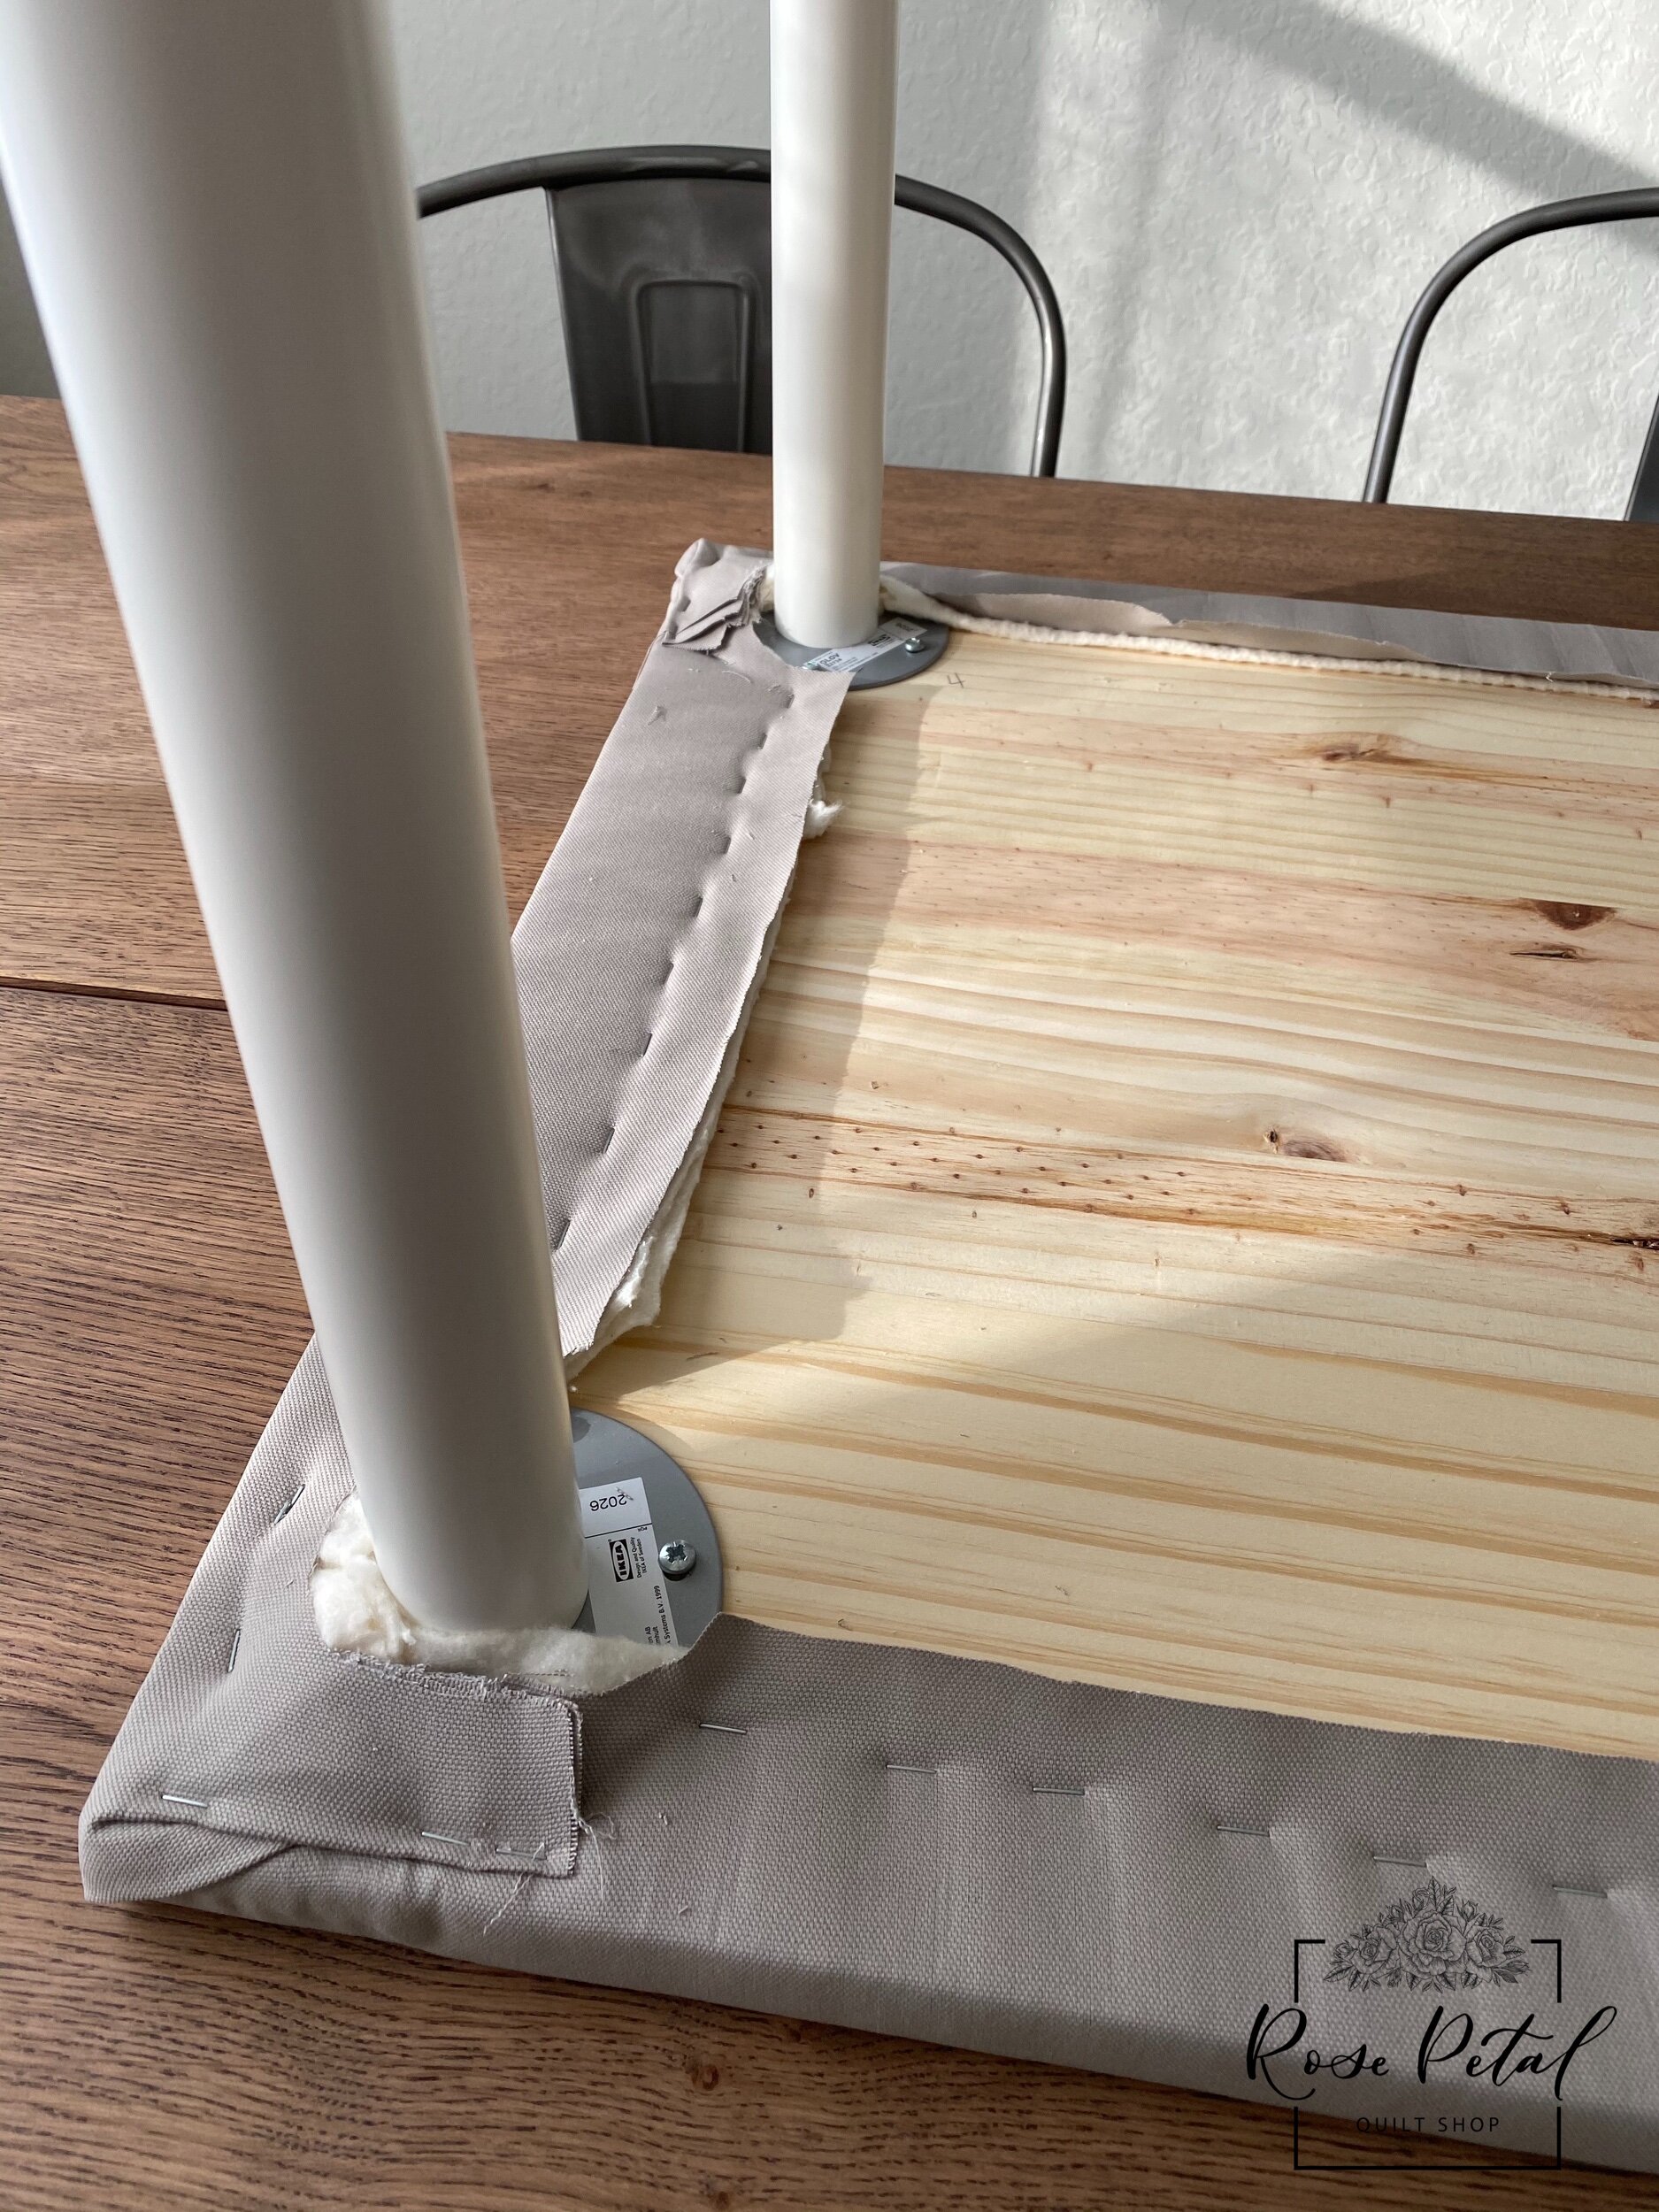
So this table is pretty easy to make. I figured out where I wanted my legs to go on the back of the wooden board and marked the spot of each leg with my pencil. I used the screws included in the OLOV legs to attach the round OLOV leg structures to the board using my power drill. I folded over my batting so I would have two layers for my table top and flattened it out on a flat surface. I then laid the wooden board down on top of the double-layered batting and tugged at the sides sticking out to ensure the batting was taut underneath. I secured the batting in place on the back side of the wooden board by using a handful of staples from the manual staple gun. I cut away the excess batting around, leaving about 2 inches of batting from the staples. From there I ironed out my canvas material using steam to get rid of all creases. Once ironed, I laid it out on a flat surface exactly like the batting. The batting-covered wooden board was then laid down on the canvas material. I tugged on all sides to ensure the canvas was taut underneath. I used the manual staple gun again to tack down all side of the canvas to the back side of the wooden board. I naturally ended up with some bulk at each corner of the wooden board. I just folded the canvas over on itself and stapled it down flat to the back side of the wooden board. It’s probably not the correct way to handle corners when you are upholstering, but it got the job done for me! I cut away all excess fabric and batting, paying special attention to the round OLOV leg structures at all 4 corners - these need to be accessible so that the legs can be attached. From there, I decided how tall I wanted my legs to be, set them all to the same height, and attached them to my table top. And BAM, the ironing table is complete!
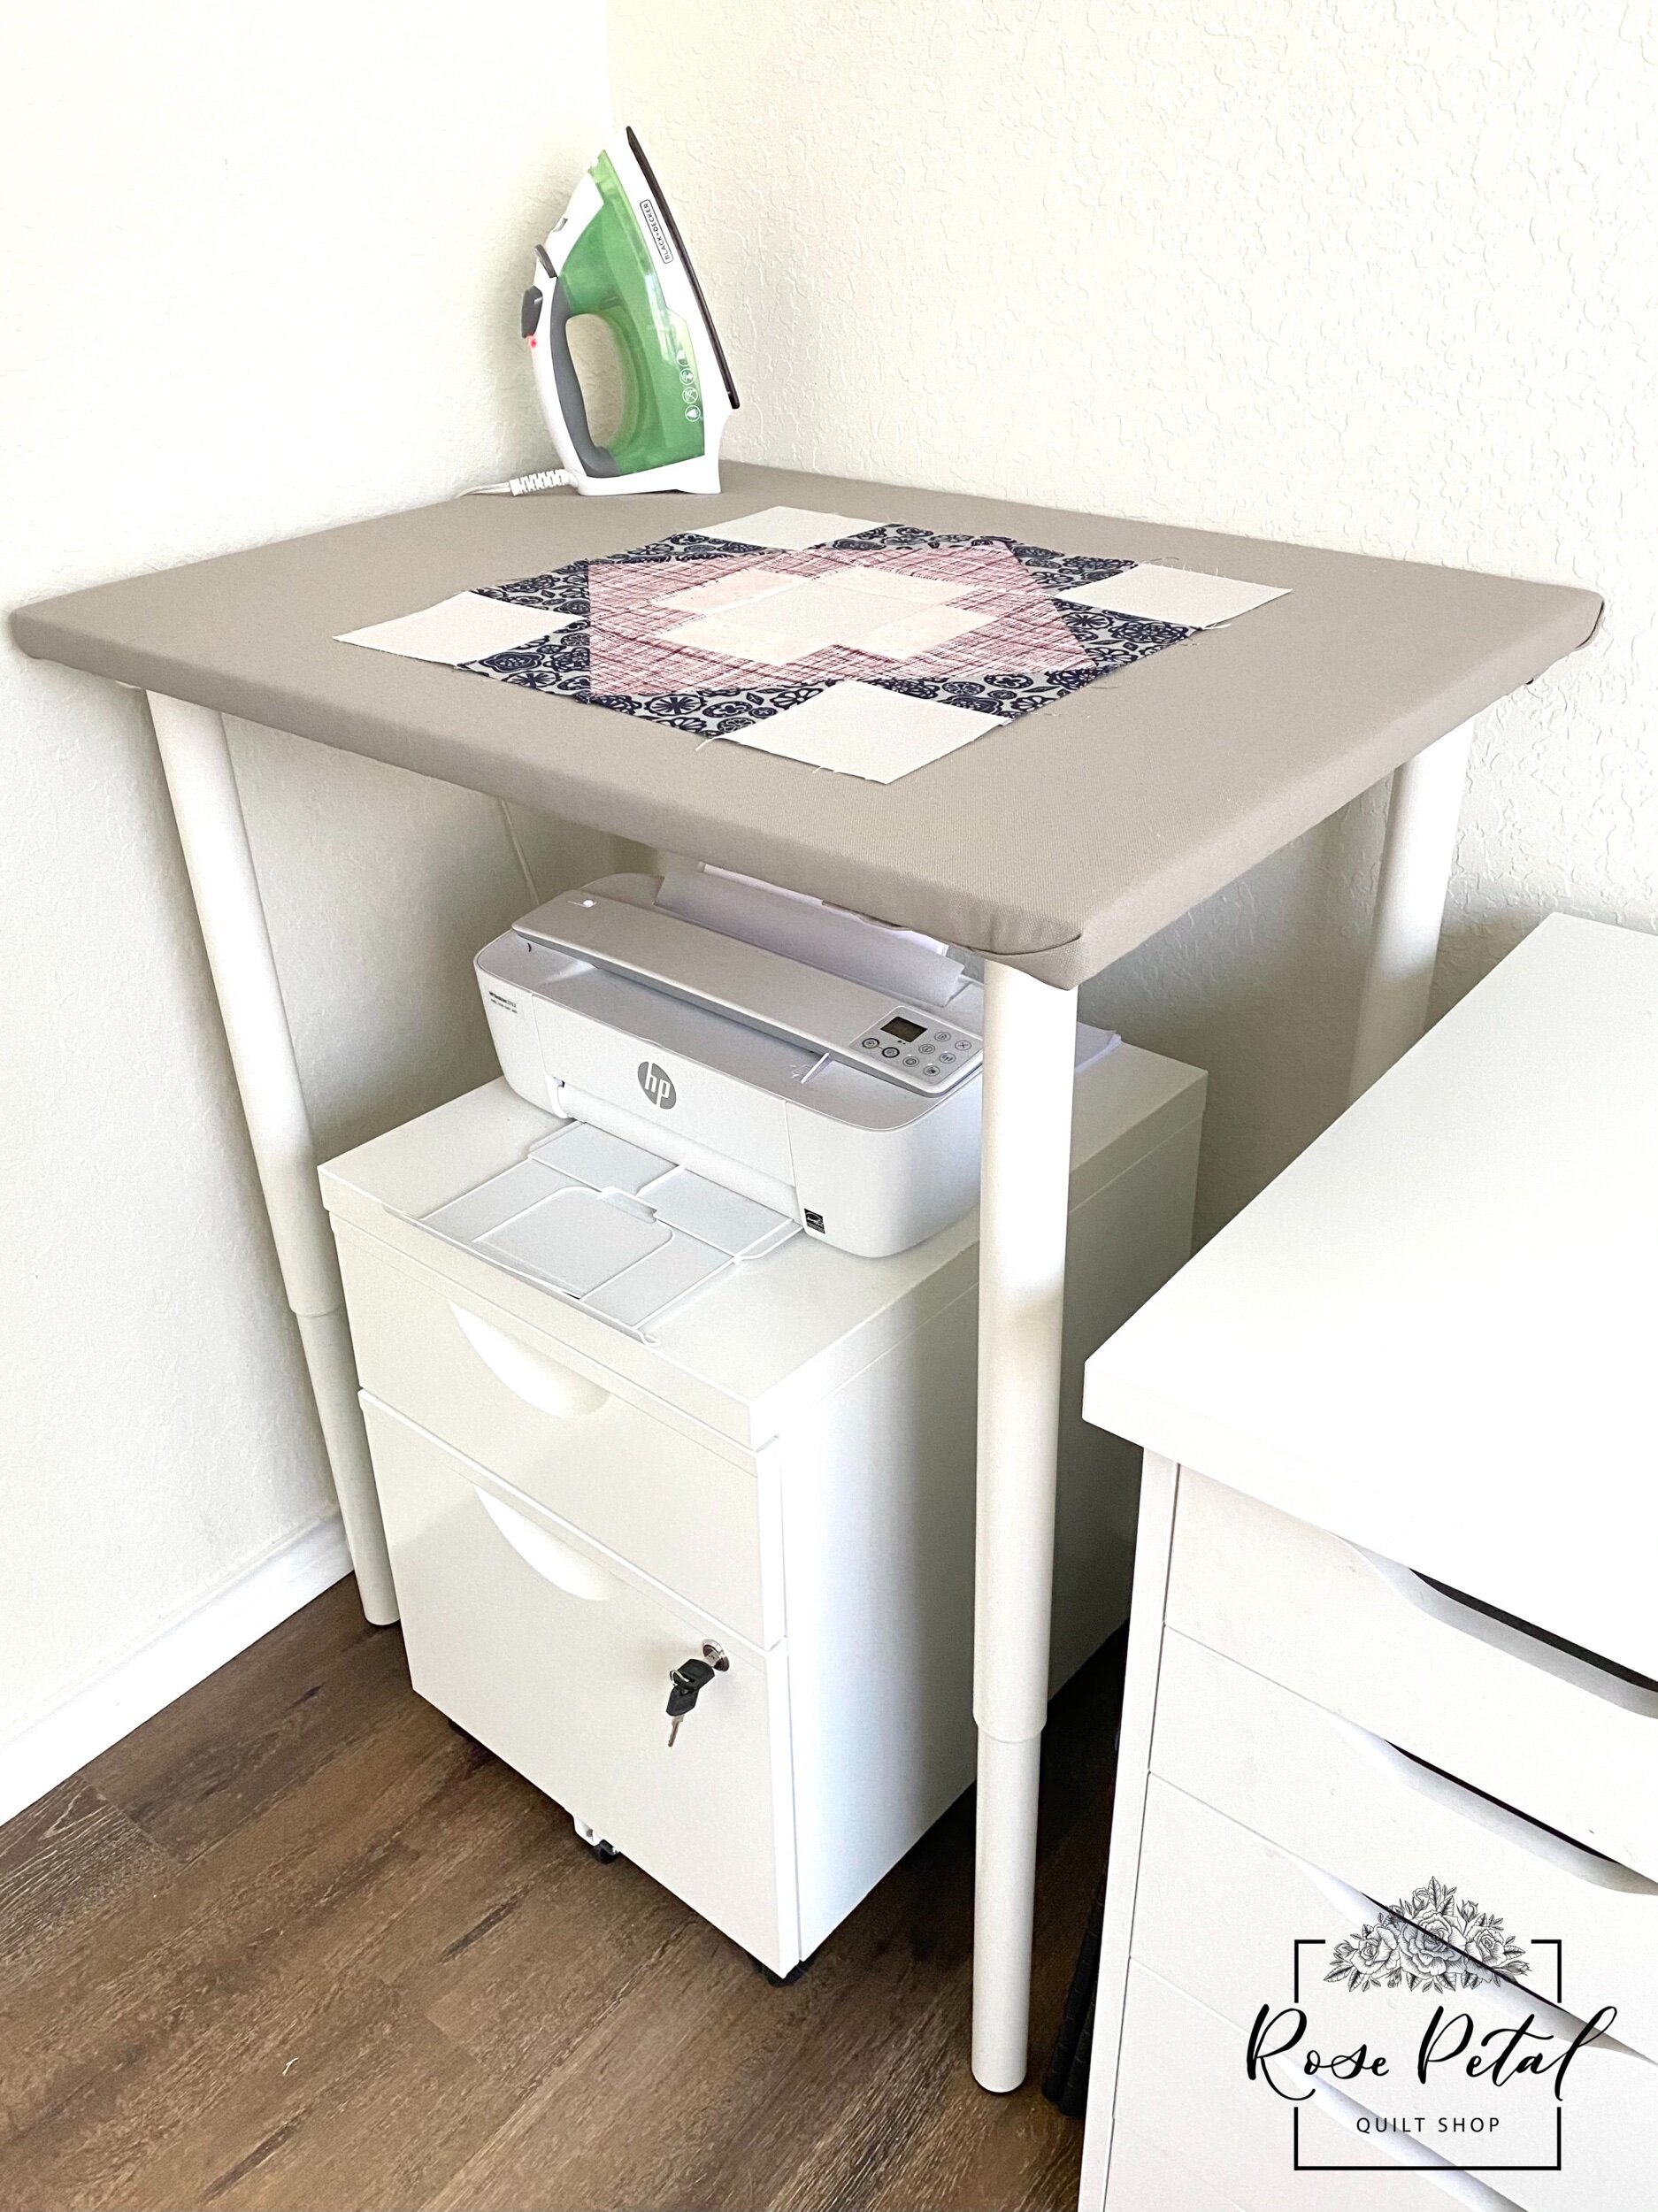
I’ve been using this ironing table for a couple of weeks now, and I don’t know how I ever ironed without it before! It is a HUGE upgrade from the flannel pillowcase set-up I had on my floor. It is so nice to have a table at this height to iron at. I don’t have to bend my back over to iron my fabrics, which is a huge deal when you are pressing hundreds of HSTs (half square triangles). My blocks are so crisp and flat from pressing on this surface! I haven’t had any canvas discoloration from using the heat on this material. Overall, it is a great ironing surface for my quilting needs!
While it is a major upgrade for me, I want to be honest about the outcome of this ironing table. I think because it is so tall and is just a table top with 4 skinny legs attached, it is a little wobbly by itself. It is not a huge problem for me since I have the table pressed into a corner up against a wall. The wall makes it very stable, and it doesn’t move around at all while ironing. Because the edge of the table has the batting and canvas lining the edge, the wall is protected from any potential rubbing from the table. If you were trying to create your own version of this, this is something to consider if you plan to have your table away from a wall.
Potential ironing table ideas I’ve had in the past:
I considered using a cube storage shelf unit like these KALLAX ones or these Target ones. My idea was to get a thin piece of wooden to cover the top of the shelf unit so that it didn’t warp from constant heat exposure. I would have covered the wood with batting and fabric just like I did for my ironing table. This is a good option for someone who needs the extra storage space the cube systems offer!
I also considered using some sort of rolling kitchen cart and covering the top with batting and fabric. There are so many options out there for rolling kitchen carts so the possibilities are endless. This is a great option for someone who needs to frequently move their sewing space around! You could store your sewing essentials on the cart’s shelves and roll it out of the way when not in use!
My last idea was to track down a small kitchen island that could work for my space. Although I never found one perfect for me, there are a couple of great options out there. Of course, you would just need to line the top with the batting and fabric and you would be good to go!
While I never considered it as an option for me, using a low dresser could also work! You could store your fabric and sewing items in the drawers of the dresser.
If you’re still here after all of that reading, you’re awesome! I want to say that I am in no way an expert at building furniture, so I know there are probably better ways to build something like this out there. I enjoyed making this table for myself after trying for so long to come up with something that would work for me!
Let me know what your ironing space is like in the comments below! I am always on the lookout for ways to upgrade my space! Thank you for taking the time out of your day to read along!